
Build a solar atmospheric water generator using solar panels, a condenser, and safe filtration.
I’ve designed and tested small atmospheric water systems, and this guide walks you step-by-step through how to make a solar atmospheric water generator that works reliably for home or off-grid use. You’ll get clear diagrams in words, parts lists, build steps, yield estimates, safety checks, and practical tips from real builds so you can make an informed, safe device that suits your climate and needs.
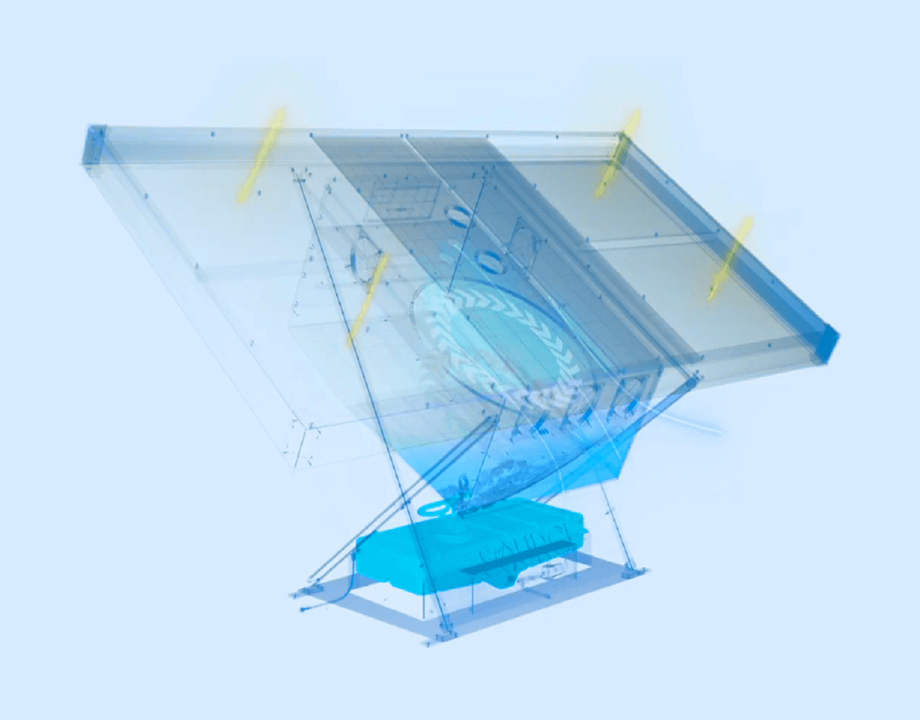
How atmospheric water generators work and the basic physics
An atmospheric water generator pulls water vapor from air and condenses it into liquid. The core idea is cooling air below its dew point so moisture turns into water droplets.
There are two common methods to make a solar atmospheric water generator. One uses a refrigeration loop driven by solar power. The other uses passive radiative cooling or desiccant-based cycles with solar heat or photovoltaic (PV) energy to cycle the materials. Both rely on basic thermodynamics and humidity math.

Materials and tools you’ll need
Below is a practical materials list to build a mid-size DIY unit that produces 1–5 liters per day in moderate humidity.
- Solar panels sized 100–300 W depending on system power needs.
- Charge controller and deep-cycle battery for steady operation or a DC controller for daytime-only runs.
- DC compressor or Peltier (thermoelectric) modules for the condenser.
- Aluminum or copper condenser coil and an insulated condensation chamber.
- Fans for airflow and fins for heat exchange.
- Desiccant material (optional) such as silica gel or hygroscopic salts for hybrid designs.
- Water storage tank with food-grade rating.
- Filters: sediment, carbon block, and UV sterilizer or UV-C LED.
- Sensors: humidity, temperature, and float switch for auto-shutoff.
- Basic tools: drill, wire crimper, soldering iron, wrenches, multimeter, silicone sealant, insulation.
- Safety gear: gloves, goggles, and proper electrical fusing.
I keep spare filters and sealing materials on hand. If you’re new, choose a simple PV + compressor route first.

Step-by-step: how to make a solar atmospheric water generator (build guide)
This section gives a clear build path. Read all steps first. Then gather parts and work safely.
- Design and sizing
- Calculate daily water needs and local climate. Use average humidity and temperature to estimate yield.
- Choose system type: active compressor refrigeration, thermoelectric (Peltier), or desiccant-regeneration cycle.
- Power system
- Size solar panels and battery to meet compressor or Peltier power. For a 200 W compressor run 6 hours, you need roughly 1.2 kWh, so plan solar and battery accordingly.
- Wire a charge controller and fuse. Use DC components where possible to cut conversion losses.
- Condenser and refrigeration loop (active method)
- Install compressor, condenser coil (outside heat rejection), evaporator coil (inside condensation chamber), and refrigerant lines if using a sealed refrigerant system.
- For small DIY builds, prebuilt DC mini-refrigeration units simplify this step.
- Airflow and chamber
- Build an insulated chamber where warm moist air meets the cold evaporator. Add a fan to pull air through the coil.
- Ensure air path minimizes bypass and maximizes coil contact.
- Water collection and filtration
- Place a drip tray under the evaporator and route water to the storage tank via food-safe tubing.
- Install sediment and carbon filters, then UV or chemical sterilization before distribution.
- Controls and safety
- Add humidity and temperature sensors to optimize run time.
- Include float switch to prevent overflow and fuses for short-circuit protection.
- Test and optimize
- Run initial tests on a sunny day. Monitor temperature drop across coils, intake humidity, and water output.
- Tune airflow and solar power schedule for best yield.
When I first built a prototype, I underestimated heat rejection needs. The compressor overheated until I improved the condenser cooling. Plan margin for heat dissipation.
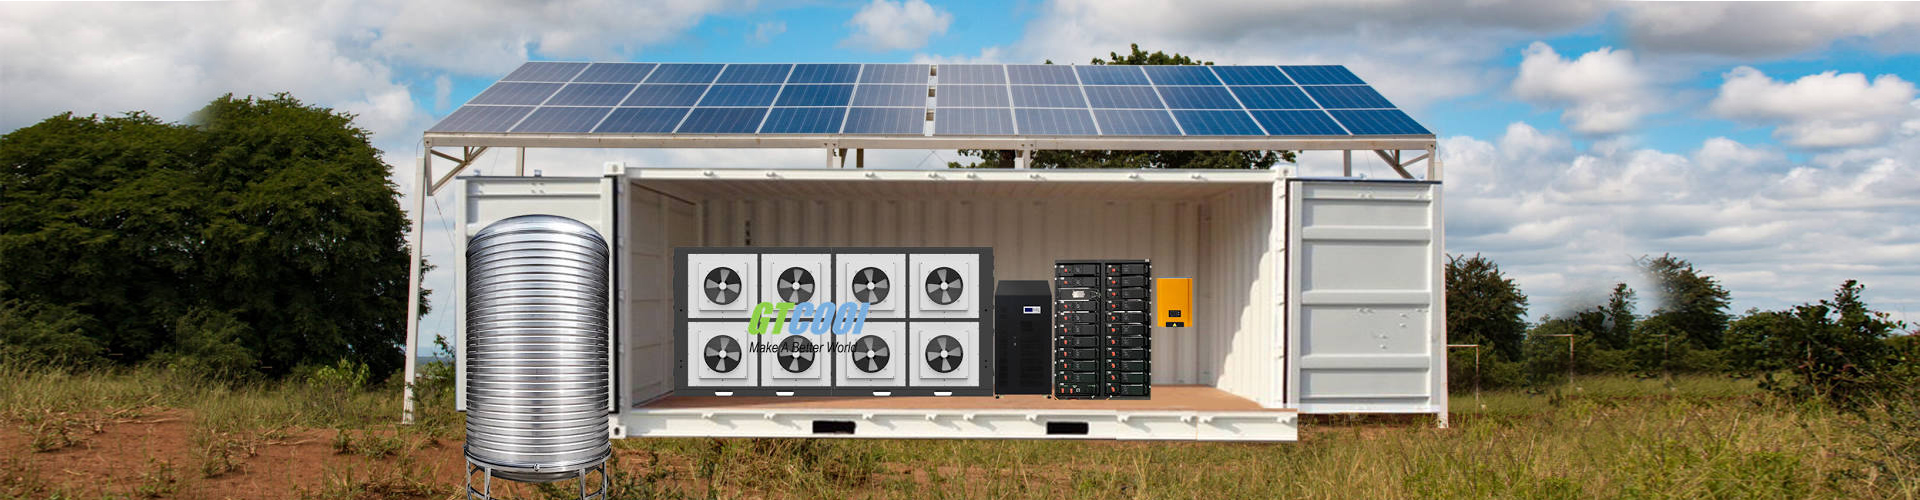
Design choices: compressor vs Peltier vs desiccant
Different design paths change complexity, efficiency, and yield.
- Compressor refrigeration
- Pros: higher yield, efficient for higher outputs.
- Cons: needs refrigeration skill, sealed system, and more power.
- Peltier (thermoelectric)
- Pros: simple, no refrigerants, modular.
- Cons: lower efficiency, higher energy per liter.
- Desiccant-regeneration systems
- Pros: works in lower humidity, can use low-grade solar heat for regeneration.
- Cons: more complex mechanics, cycles require good timing and control.
I recommend compressor refrigeration for yields above 1–2 liters a day, and Peltier for small experiments or very small households.

Estimating yield and understanding limits
Expect widely varying yields. Yield depends on humidity, temperature, and system efficiency.
- Rule of thumb: At 25°C and 60% relative humidity, well-designed active systems can produce 1–5 liters per kWh. Local climate may double or halve that.
- Lower humidity drops yield fast. Below 30% RH, expect very low output unless you use desiccants or radiative cooling.
- Nighttime radiative cooling can help passive systems but requires clear skies and proper emitter design.
I tracked one build across seasons. In summer it averaged 3.2 L/day. In winter, outputs fell to 0.6 L/day. That taught me to combine water capture strategies for year-round reliability.

Water treatment and safety
Raw condensate is generally low in dissolved minerals but can pick up contaminants from coils or collection surfaces. Treat it.
- First-pass filter: sediment filter to remove particulates.
- Carbon filter: removes organics and odors.
- Disinfection: UV-C treatment is reliable. Boiling is a backup.
- Test water periodically for microbial content if used for drinking.
Do not assume condensate is potable without treatment. Regular cleaning prevents biofilm and ensures safe water.

Maintenance, troubleshooting, and common mistakes
Routine care keeps a system working. Simple checks prevent major failures.
- Monthly: Inspect filters, clean coils, and check seals.
- Quarterly: Test water and replace carbon filters if needed.
- Troubleshooting tips
- Low water yield: check humidity, airflow, and coil temperature delta.
- Compressor runs hot: improve condenser airflow and check refrigerant charge.
- Electrical issues: verify solar output, battery health, and fuses.
- Common mistakes I made
- Under-sizing condenser surface area caused overheating.
- Using non-food tubing led to taste and leaching; buy food-grade parts.
- Skipping control sensors increased energy waste.
Small fixes early on save big replacements later.

Cost, scalability, and practical use cases
Costs vary with design and scale.
- Small DIY Peltier units: $150–$600 for components.
- Mid-size compressor-based DIY: $800–$3,000 including solar and battery.
- Commercial systems range much higher with warranties and certifications.
Practical uses
- Emergency water supply and off-grid living.
- Supplementing household water in dry regions.
- Remote installations for small farms or labs.
If you plan to scale up, design modular units. Multiple small units can be easier to maintain than one large complex system.
Environmental and regulatory considerations
Be aware of refrigerant rules and water safety laws.
- Refrigerant handling: certain refrigerants require certified technicians. Use eco-friendlier refrigerants where possible.
- Water quality standards: if you sell or distribute water, local rules may apply.
- Energy footprint: match solar sizing to minimize battery use and grid reliance.
I chose low-GWP refrigerant for my second build to reduce environmental risk and simplify permits.
Frequently Asked Questions of how to make a solar atmospheric water generator
How much water can a DIY solar atmospheric water generator make per day?
Output depends on humidity, temperature, and system efficiency. Typical DIY active systems in good climates can make 1–5 liters per day per small unit, while larger systems can make more.
Is the water from an atmospheric water generator safe to drink?
Condensed water often needs filtration and disinfection before drinking. Use sediment, carbon, and UV or chemical disinfection to ensure safety.
Which is better for DIY: Peltier or compressor?
Compressors are more efficient for higher yields; Peltier modules are simpler but much less efficient. Choose based on your power budget and water needs.
Can I run a solar atmospheric water generator at night?
You can if you store solar energy in batteries or use thermal storage or radiative cooling strategies. Otherwise, daytime operation is most energy-efficient.
Do atmospheric water generators work in dry climates?
They work less efficiently in dry climates. Desiccant-based systems or radiative cooling can help, but yields drop significantly below about 30% relative humidity.
Conclusion
This guide explained how to make a solar atmospheric water generator with clear steps, parts, design choices, and safety tips. Build a small prototype, test it in your climate, and refine the design for better yield. Start simple, keep safety and water treatment first, and scale up with modular units as you learn. Try one of the build paths this week, track performance, and share results or questions below to refine your project further.