
Is your generator refusing to start when you need it the most? You’re not alone.
Many people face this frustrating situation, especially during power outages or when off-grid. A generator that won’t start can leave you feeling helpless and anxious. But don’t worry—you can troubleshoot the issue and get it up and running again. We’ll guide you through the essential steps to diagnose and fix your generator problems.
Stick with us, and you’ll be back to enjoying reliable power in no time. Let’s dive into what you can do if your generator is not starting!
Common Reasons For Generator Failure
Generators can fail for many reasons. Knowing these reasons helps you troubleshoot. Let’s explore some common issues that prevent your generator from starting.
Fuel Issues
Generators need fuel to run. Lack of fuel is a simple problem. Old or stale fuel can also cause issues. Check the fuel tank. Make sure it has enough fresh fuel. Look for leaks as well.
Battery Problems
A weak or dead battery stops the generator. Batteries can lose charge over time. Check the battery connections. Clean any corrosion on the terminals. Replace the battery if it’s old or damaged.
Dirty Air Filter
Air filters keep dirt out of the engine. A dirty filter restricts airflow. This can cause starting problems. Inspect the air filter regularly. Clean or replace it as needed.
Faulty Spark Plug
The spark plug ignites the fuel in the engine. A faulty spark plug can prevent starting. Check for wear or damage. Replace it if it looks worn out. A new spark plug can fix many issues.
Oil Levels
Generators need oil to run smoothly. Low oil levels can trigger safety features. Check the oil level before starting. Top it off if it’s low. Change the oil regularly for best performance.
Electrical Problems
Wiring issues can stop your generator. Look for loose or damaged wires. Check the circuit breaker too. Reset it if needed. Electrical issues require careful inspection.
Overheating
Generators can overheat if not ventilated properly. Ensure there is enough airflow around the unit. Check for debris blocking vents. Allow it to cool down before restarting.
Understanding these common reasons helps you troubleshoot effectively. Regular maintenance can prevent many of these issues.

Credit: www.anoffgridlife.com
Checking Fuel Levels
Checking fuel levels is a crucial step when your generator refuses to start. Often, the simplest solutions can save you time and frustration. A quick glance at your fuel gauge can save you from unnecessary troubleshooting.
Understanding Fuel Types
Generators typically run on gasoline, propane, or diesel. Knowing which type your generator uses is essential. Using the wrong fuel can lead to starting issues or even damage your machine.
Checking The Fuel Gauge
First, check the fuel gauge on your generator. If it’s showing empty, you know the problem right away. If it’s difficult to read, consider using a flashlight for better visibility.
Inspecting Fuel Quality
Old or contaminated fuel can also be a culprit. If the fuel has been sitting for months, it may have degraded. Fresh fuel is key; replace it if you suspect it’s stale.
Fuel Line Inspection
Next, inspect the fuel line for any blockages. Dirt or debris can obstruct fuel flow, preventing your generator from starting. Clear any visible obstructions to ensure a smooth fuel supply.
Taking Action
If you find that your fuel levels are low or the fuel is old, fill it up with fresh fuel. This simple step can often solve your problem. Don’t let a lack of fuel keep you in the dark!
Have you ever faced a situation where you thought something was wrong with your generator, only to discover it was just a fuel issue? It’s more common than you think. Always start with the basics to save yourself from unnecessary headaches.
Inspecting Battery And Connections
A generator that won’t start can be frustrating. Often, the issue lies with the battery or its connections. Checking these components is a good first step. Let’s explore how to inspect the battery and its connections effectively.
Check The Battery Voltage
Start by measuring the battery voltage. A healthy battery should show at least 12.4 volts. Use a multimeter for accurate readings. If the voltage is low, the battery may need charging or replacement.
Inspect Battery Terminals
Examine the battery terminals for dirt and corrosion. Clean any buildup with a wire brush. Corroded terminals can prevent proper electrical flow. Ensure the terminals are tight and secure.
Test Battery Cables
Check the battery cables for any signs of damage. Look for fraying or breaks. Damaged cables may not carry power effectively. Replace any worn cables to ensure a good connection.
Ensure Connections Are Tight
Make sure all connections are tight. Loose connections can cause starting issues. Wiggle the cables gently to check for movement. Tighten any loose connections carefully.
Look For Signs Of Leakage
Inspect the battery for any signs of leakage. A leaking battery can be dangerous. If you notice any leaks, handle the battery with care. Consider replacing it immediately.
Check The Charge Level
Verify if the battery is charged. A simple way is to try starting the generator. If it doesn’t start, the battery may need a charge. Connect it to a charger and let it charge fully.
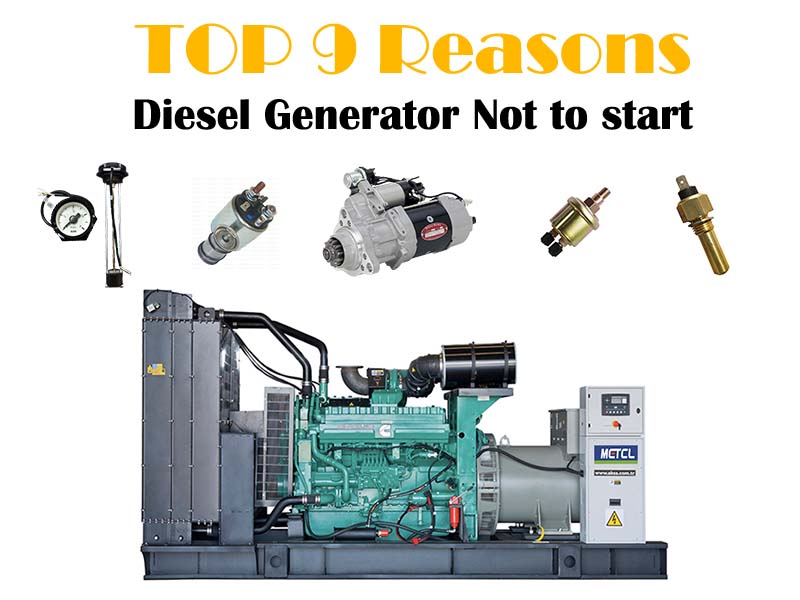
Credit: www.metclcummins.com
Examining Air Filters
Air filters play an important role in generator performance. They ensure clean air enters the engine. Dirty or clogged filters can prevent the generator from starting. Regular checks can help keep your generator running smoothly.
Why Clean Air Filters Matter
Clean air filters allow proper airflow. This improves fuel efficiency and engine power. A dirty filter restricts air flow. This can lead to starting issues.
Signs Of A Clogged Air Filter
Look for signs of a clogged air filter. Does the generator struggle to start? Are there unusual sounds? These can indicate a filter problem.
How To Inspect Air Filters
Start by locating the air filter. Refer to your generator’s manual for guidance. Remove the filter carefully. Check for dirt or damage.
Cleaning Or Replacing The Filter
If the filter is dirty, you can clean it. Use mild soap and water. Allow it to dry completely. Replace it if it is damaged or too dirty.
Regular Maintenance Tips
Check air filters every month. More frequent checks may be needed in dusty areas. Regular cleaning helps avoid starting problems.
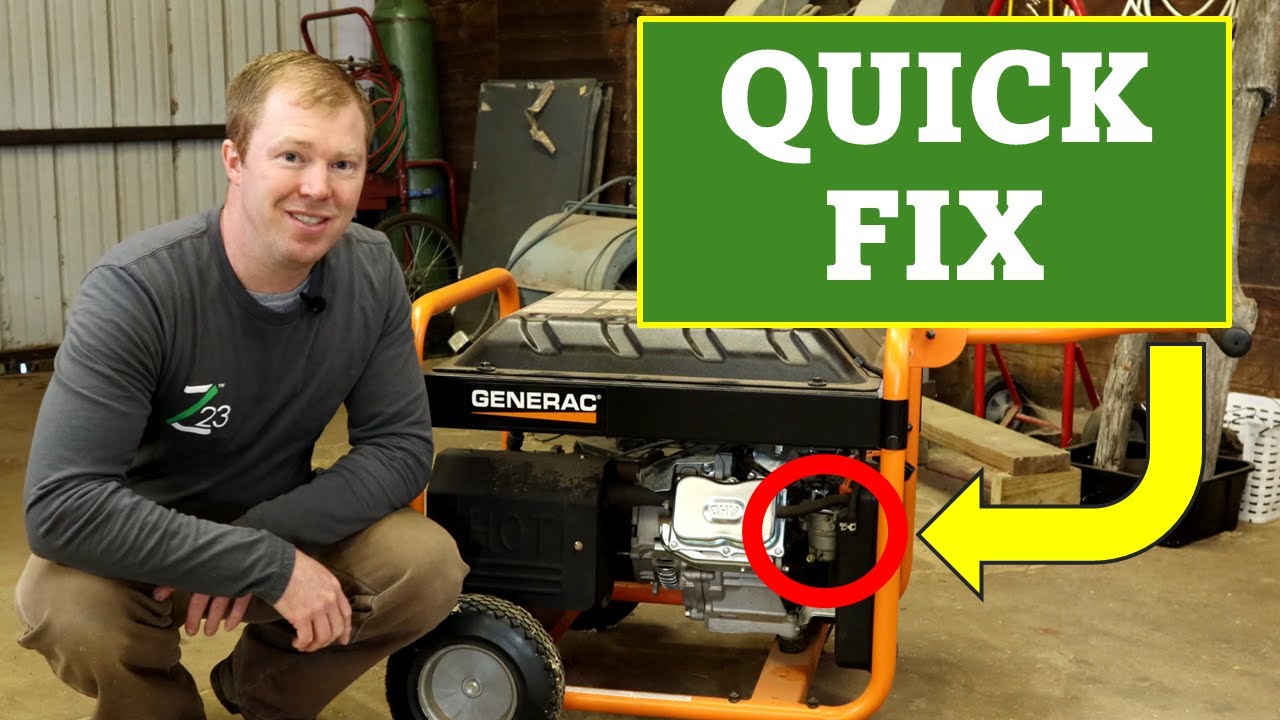
Testing Spark Plug
Testing the spark plug is essential when a generator won’t start. Check for cracks or wear and ensure it produces a strong spark. A faulty spark plug can prevent the engine from igniting properly, so replacing it may solve the problem.
Testing the spark plug is a crucial step when your generator refuses to start. The spark plug ignites the fuel-air mixture, producing the spark that powers your generator. If it’s faulty or dirty, your generator won’t start, leaving you in the dark, literally and figuratively.Identifying Spark Plug Issues
Look for signs of wear on the spark plug. Check for cracks, carbon buildup, or corrosion. Any of these issues can prevent your generator from starting. – Cracks: Visible cracks indicate that the spark plug needs replacement. – Carbon Buildup: A black, sooty coating means the plug is dirty and may need cleaning or replacing. – Corrosion: Rust or corrosion on the terminals can hinder electrical flow.Testing The Spark Plug
You can test the spark plug using a spark plug tester. Simply remove the spark plug from the engine and connect the tester. – If you see a bright blue spark when you crank the generator, the spark plug is functioning well. – A weak or no spark indicates it’s time for a replacement. Don’t overlook this step; a faulty spark plug can lead to bigger issues down the line.Cleaning The Spark Plug
Sometimes, cleaning the spark plug can restore its functionality. Use a wire brush or sandpaper to remove carbon deposits. – Ensure the electrode is clean and free from debris. – Reinstall the spark plug and test your generator again. If cleaning doesn’t work, it’s best to replace the spark plug with a new one.Replacing The Spark Plug
If testing reveals a faulty spark plug, don’t hesitate to replace it. Choose a spark plug that matches your generator’s specifications. – Consult your generator’s manual for the correct type. – Use the right tools to avoid damaging the engine. After replacement, your generator should start without any issues. Have you ever faced a similar situation? What steps did you take to resolve it? Taking care of your spark plug can save you from unexpected power outages and costly repairs. Your generator deserves the best maintenance, and testing the spark plug is a simple yet effective way to ensure it runs smoothly.
Credit: www.youtube.com
Assessing Oil Levels
Check the oil levels if your generator won’t start. Low oil can stop the engine from running. Add oil if needed and try starting the generator again.
Assessing oil levels is a crucial step when your generator refuses to start. Oil plays a vital role in ensuring the engine runs smoothly and efficiently. If the oil level is too low, it can lead to serious engine damage or prevent the generator from starting altogether.Check The Oil Level
Begin by locating the oil dipstick on your generator. Pull it out, wipe it clean, and reinsert it to check the oil level accurately. – If the oil level is below the recommended mark, it’s time to add oil. – Make sure to use the type of oil specified in the generator’s manual. Adding oil is a quick fix that can often resolve starting issues.Inspect Oil Condition
Not only should you check the quantity of oil, but also its quality. Old or dirty oil can lead to engine problems and starting failures. Look for: – Dark color or a milky appearance – Presence of debris or metal shavings If the oil looks contaminated, change it immediately. Fresh oil can improve engine performance significantly.Change The Oil Regularly
Making oil changes a part of your regular maintenance routine is essential. Over time, oil breaks down and loses its effectiveness. Consider setting a schedule: – Every 50 to 100 hours of operation – At least once a year, even if the generator hasn’t been used much This simple step can prolong the life of your generator and prevent starting issues. Assessing oil levels is a straightforward process that can save you time and frustration. Have you checked your generator’s oil lately? Keeping it in top shape can make all the difference when you need it most.Resetting Circuit Breaker
Generators can stop working for many reasons. One common issue is a tripped circuit breaker. This can happen due to overload or a short circuit. Resetting the circuit breaker might solve the problem quickly. Follow these steps to reset it safely.
Locate The Circuit Breaker
First, find the circuit breaker on your generator. It is usually a small switch. Check the owner’s manual for its exact location. Make sure the generator is off before you touch anything.
Inspect The Breaker
Look closely at the circuit breaker. If it is in the “off” position, it may need resetting. If it looks damaged, do not reset it. Call a professional for help instead.
Reset The Circuit Breaker
To reset, push the breaker switch to the “off” position. Wait a few seconds. Then, switch it back to the “on” position. You should hear a click sound. This means it has reset properly.
Test The Generator
After resetting, turn on the generator. Check if it starts normally. Listen for unusual noises. If it does not start, further troubleshooting may be necessary.
Seek Professional Help
If the generator still does not work, contact a technician. They can diagnose more complex issues. Don’t attempt to fix serious problems yourself.
Checking For Overload Issues
Checking for overload issues is a crucial step when your generator refuses to start. Overloading can cause your generator to fail, leaving you without power when you need it most. Understanding how to identify and fix overload problems can save you time and frustration.
Recognize Signs Of Overload
Start by looking for signs that your generator is overloaded. Common indicators include:
- Frequent tripping of circuit breakers.
- Dim or flickering lights when appliances are in use.
- Unusual noises from the generator, such as sputtering or excessive vibrations.
Have you experienced any of these issues before? Recognizing these signs early can help you prevent further damage.
Check The Load Capacity
Your generator has a specific load capacity, usually indicated in watts. Make sure you know the total wattage of all the devices you’re trying to power. If the total exceeds the generator’s capacity, you need to reduce the load.
For example, if your generator can handle 5,000 watts but your appliances draw 6,000 watts, it won’t start. List out your devices and their wattages to see where you can cut back.
Reduce The Connected Appliances
Once you’ve identified that you’re overloading your generator, it’s time to take action. Disconnect any non-essential appliances or tools. Start with the largest wattage devices first.
Think about what you absolutely need to run. Is it the refrigerator or the heater? Make those tough choices to ensure your generator can start smoothly.
Inspect Power Cords And Outlets
Check your power cords and outlets for any damage. Frayed cords or faulty outlets can contribute to overload issues. Replace any damaged items before trying to start the generator again.
A personal experience taught me the importance of regular inspections. I once lost power because I ignored a damaged cord, thinking it was minor. Don’t make the same mistake!
Test With A Smaller Load
After reducing the load, try starting your generator again. Begin by connecting just one or two small appliances. This will help you gauge whether the overload issue has been resolved.
If it starts successfully, gradually add back your appliances one at a time. Monitor how the generator responds to each addition.
Checking for overload issues can be straightforward, but it requires your attention. Are you ready to tackle this problem head-on? Understanding the load capacity and inspecting your equipment can help you get your generator up and running again.
Inspecting Wiring And Components
Checking the wiring and components of your generator is essential. Problems in these areas often cause starting issues. A careful inspection can save time and money.
Check The Power Cables
Start by examining the power cables. Look for signs of wear or damage. Frayed wires can lead to poor connections. Ensure all cables are tightly connected. Loose connections can prevent the generator from starting.
Inspect The Battery
The battery is crucial for starting your generator. Check the battery terminals for corrosion. Clean any corrosion with a wire brush. Ensure the battery is charged. A weak battery often causes starting problems.
Look For Loose Connections
Loose connections can disrupt power flow. Inspect all connections in the generator. Tighten any that feel loose. Pay special attention to the spark plug and ignition wires. These are critical for starting the engine.
Examine Fuses And Circuit Breakers
Fuses and circuit breakers protect your generator from overloads. Check for blown fuses or tripped breakers. Replace any blown fuses with the correct type. Reset any tripped breakers to restore power.
Inspect The Starter Motor
The starter motor is vital for engine operation. Listen for any clicking sounds when you try to start. This may indicate a problem with the starter. Check the connections to the starter motor. Ensure they are secure and clean.
When To Call A Professional
Generators can fail to start for many reasons. Some issues are simple to fix. Others may need expert help. Knowing when to call a professional is important.
Unusual Noises
If your generator makes strange sounds, stop using it. Grinding or clanking noises can mean serious problems. Call a technician to check it out.
Fuel Issues
Fuel problems can cause starting issues. If you smell gas or see leaks, it’s time to call for help. Handling fuel can be dangerous.
Electrical Problems
Flickering lights or tripped breakers signal trouble. These signs often indicate deeper electrical issues. A professional can diagnose and fix these problems safely.
Persistent Starting Issues
If your generator won’t start after multiple attempts, seek help. Ignoring this can lead to bigger issues. A technician can find the root cause.
Age Of The Generator
Older generators may need more maintenance. If your unit is over ten years old and acts up, get a professional’s opinion. Regular upkeep can extend its life.
Safety Concerns
Safety is crucial when working with generators. If you feel unsure about any repair, call an expert. Better to be safe than sorry.
Frequently Asked Questions
Why Won’t My Generator Start?
There can be several reasons your generator won’t start. Common issues include a dead battery, empty fuel tank, or faulty spark plug. Check the fuel level, ensure the battery is charged, and inspect the spark plug for any damage. Regular maintenance can prevent these problems.
How Do I Troubleshoot A Non-starting Generator?
Start by checking the basics: fuel, oil levels, and battery. Ensure the generator is in the correct position and the circuit breaker isn’t tripped. If these steps don’t work, consult the user manual for specific troubleshooting tips or consider seeking professional help.
What Are Common Generator Starting Problems?
Common problems include fuel starvation, battery issues, and ignition failures. A clogged fuel filter can restrict fuel flow. Also, dirty carburetors or worn-out spark plugs can prevent starting. Regular maintenance helps identify and resolve these issues before they escalate.
How Can I Maintain My Generator For Reliable Starting?
Regular maintenance is key for reliable starting. Change the oil, replace air filters, and inspect spark plugs periodically. Keep the fuel clean and check the battery connections. Following the manufacturer’s maintenance schedule will prolong your generator’s lifespan and ensure it starts when needed.
Conclusion
A generator that won’t start can be frustrating. Follow these steps to troubleshoot the issue. Check the fuel level and oil condition first. Inspect the battery and connections next. Clean or replace the spark plug if needed. If problems persist, consult a professional.
Taking these steps can save time and stress. Always remember regular maintenance helps prevent future issues. Stay prepared and keep your generator ready for use. A little care goes a long way in ensuring reliability.