
Clean the generator carb by removing, soaking, brushing, and reassembling with fresh gaskets and fuel.
I’ve spent years fixing small engines and teaching homeowners how to clean generator carburetors safely and effectively. This guide explains how to clean generator carb with clear steps, tool lists, safety tips, and troubleshooting so you can restore smooth starts and steady power. Read on if you want practical, proven methods that save money and extend your generator’s life.

Why cleaning matters and how a carb works
A dirty carburetor blocks fuel and air flow. That causes hard starts, surging, rough idle, and low power. Knowing how to clean generator carb starts with knowing what the carb does. The carb meter mixes fuel and air in the right ratio for combustion. Small jets and passages control flow and they clog from stale fuel and varnish.
Common causes of carb issues
- Old or ethanol-blended fuel
- Sitting unused for months
- Dirt and debris in the fuel tank
- Faulty float needle or gaskets
Benefits of cleaning
- Better starts and steady power
- Lower fuel waste and fewer repairs
- Extended engine life

Tools and supplies you’ll need to clean generator carb
Gathering the right items speeds the job and keeps it tidy. Below is a simple kit that works for most portable generators.
- Basic metric and standard socket set
- Screwdrivers: flat and Phillips
- Carburetor cleaner spray and small parts cleaner
- Compressed air or air nozzle
- Small wire brush and soft-bristled brush
- Small needle pick set or guitar pick for jets
- New carburetor rebuild kit (gaskets, needle, jets as needed)
- Clean rags and a parts tray
- Safety gloves and eye protection
- Fresh, stabilized fuel for test runs
I always keep a rebuild kit and a can of carb cleaner in my toolbox. That saved me a roadside repair during a storm backup.

Step-by-step: how to clean generator carb safely
Follow these steps in order. Take photos as you disassemble to help reassemble correctly.
Prepare and disconnect
- Turn off the generator and let it cool. Disconnect the spark plug to prevent accidental starts.
- Drain the fuel bowl or bowl bolt into a safe container. Dispose of old fuel per local rules.
Remove the carburetor
- Detach the air filter housing and intake boot.
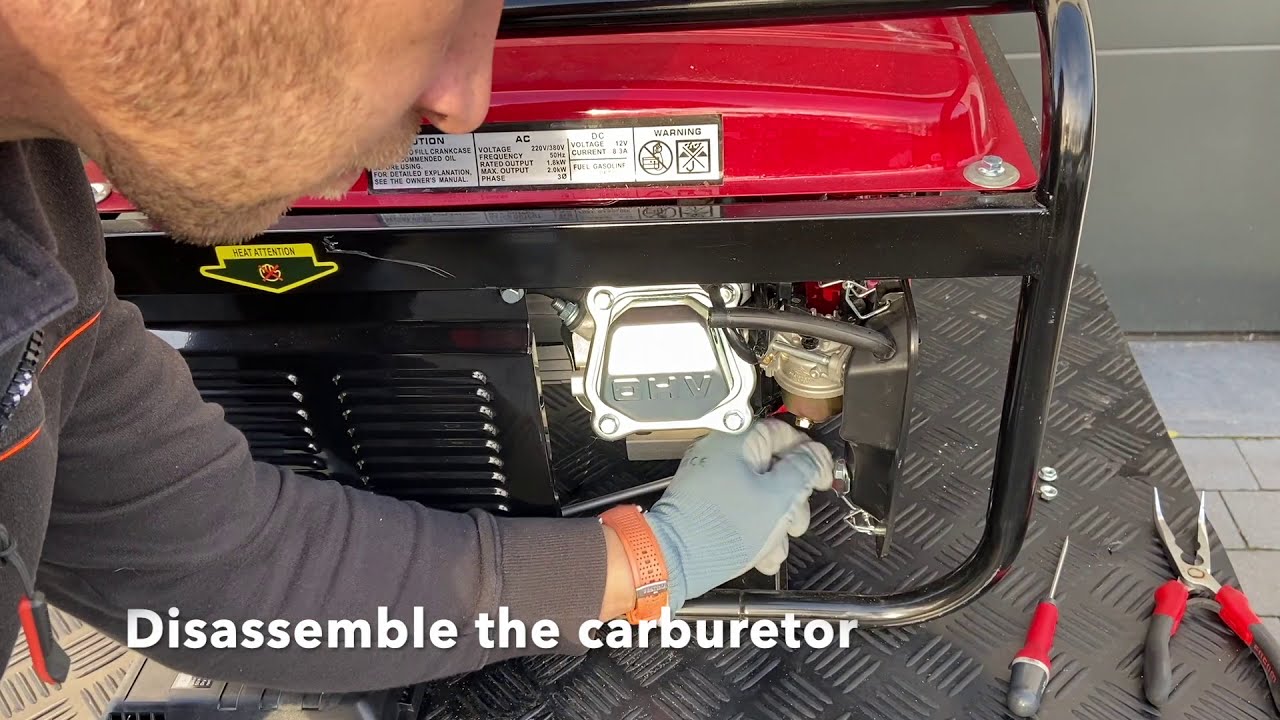
- Disconnect fuel lines and throttle linkage carefully. Note positions.
- Unbolt the carburetor from the engine.
Disassemble the carburetor
- Work on a clean surface. Lay parts in order.
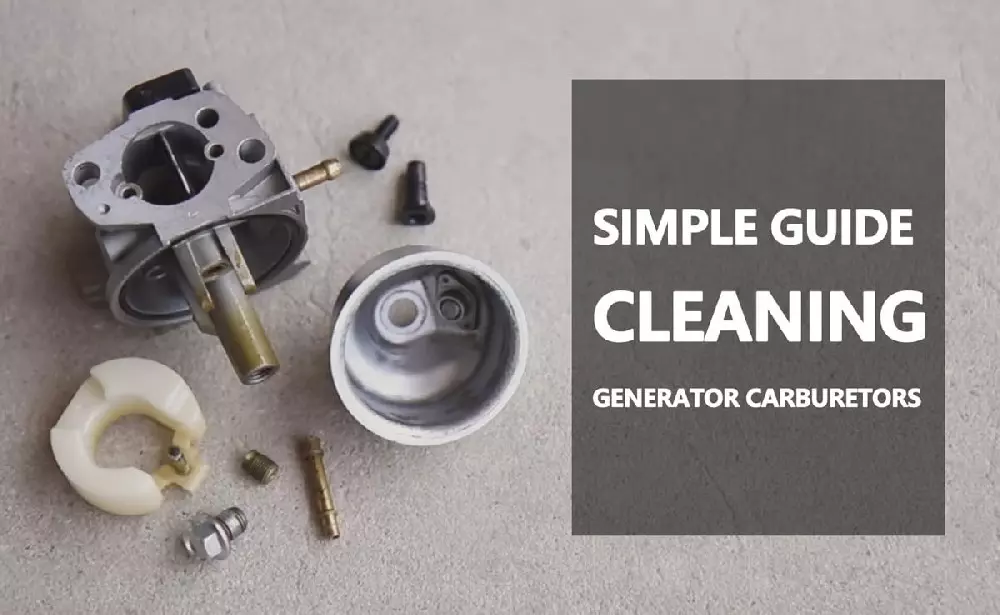
- Remove the float bowl, float, needle valve, and main jet.
- Inspect gaskets, float condition, and needle seat.
Clean parts
- Spray carburetor cleaner into all ports and jets. Use the small pick to clear stubborn deposits.
- Soak metal parts (not rubber items or diaphragm-type parts) in parts cleaner if heavily varnished.
- Blow compressed air through each jet and passage until clear.
Replace wear items
- Fit new gaskets, O-rings, and needle if worn. Use the rebuild kit parts.
- Replace the fuel filter and inspect fuel lines; swap any that are cracked.
Reassemble and test
- Reassemble using your photos as a guide.
- Reattach the carburetor, reconnect the fuel line and linkage, and secure the air filter.
- Add fresh stabilized fuel and reconnect the spark plug.
- Start the generator, let it warm up, and check for leaks. Adjust idle and mixture if needed.
Tips from my experience
- Take slow photos while you disassemble. A single photo saved me a messy reassembly once.
- If jets are worn or damaged, replace them rather than file them down.
- Avoid using harsh wire brushes on soft surfaces.

Safety and preventive tips when you clean generator carb
Safety first. Small engines contain flammable fuel and moving parts. Follow these rules.
- Work in a well-ventilated area away from open flames.
- Wear gloves and eye protection while spraying solvents.
- Keep fuel in approved containers and dispose of old fuel per local guidelines.
- Use OEM or quality replacement parts to avoid failures.
Preventive maintenance to limit future cleaning
- Use fuel stabilizer when storing the generator longer than 30 days.
- Run the unit every month for 15 minutes under light load.
- Replace the fuel filter annually.
- Keep the air filter clean to prevent dirty air from entering the carb.

Troubleshooting common problems after cleaning
If problems persist after you clean generator carb, try these checks.
- Engine still won’t start
- Verify fuel flow, spark, and compression. A clogged fuel line or faulty ignition coil might be the issue.
- Rough idle or stalling
- Check for air leaks at the intake manifold and carb mounting. Re-check float height and jet cleanliness.
- Flooding or fuel leaks
- Inspect the float needle, seat, and bowl gasket for proper seating and sealing.
- Low power under load
- Clean or replace the air filter and check the muffler or spark arrestor for blockage.
When to call a pro
- If internal diaphragms, complex electronic controls, or fuel injection systems need service.
- If you detect a fuel leak that won’t stop after part replacement.

Maintenance schedule and tips to avoid repeated cleaning
A little maintenance goes a long way. A simple schedule keeps carburetor problems rare.
- After every 25 hours: Inspect air filter and fuel lines.
- Every 100 hours or seasonally: Clean or replace carburetor components as needed.
- Before seasonal storage: Add stabilizer and run the engine for 5–10 minutes.
- After storage: Drain old fuel, check carb and clean if needed.
I once had a client who stored a generator without stabilizer for six months. The carb formed hard varnish and needed a full rebuild. Since then, I always recommend a quick run with stabilizer before storage.

Common mistakes to avoid when you clean generator carb
Avoid these frequent errors to save time and prevent damage.
- Using gasoline to clean parts. It is unsafe and ineffective.
- Reusing old gaskets and seals. They rarely re-seat properly.
- Over-tightening jets and screws. That damages threads in soft alloys.
- Skipping the fuel filter and tank clean. New parts will clog quickly with dirty fuel.

PAA-style quick questions (People Also Ask)
What tools are essential for cleaning a carburetor?
- Basic hand tools, carb cleaner, compressed air, small picks, and a rebuild kit are essential for most jobs.
How long does cleaning a generator carb take?
- For a simple clean expect 30–90 minutes. A full rebuild may take longer if parts need ordering.
Can I use household solvents to clean the carb?
- Use purpose-made carburetor cleaner. Household solvents can damage rubber parts or leave residues.
Is it worth rebuilding an old carb?
- If the engine has good compression and spark, rebuilding the carb is usually cheaper than replacing the generator.
How often should I clean a generator carb?
- Clean when symptoms appear, or during yearly service if you use the generator regularly.
Frequently Asked Questions of how to clean generator carb
How do I know if the carb is the problem?
Clues include hard starts, rough idle, stalling, or poor power. Check spark and compression first, then inspect the carb.
Can I clean the carb without removing it?
Basic spray cleaning can help, but full cleaning and jet work require removing the carb for best results.
Will new fuel fix a dirty carb?
Fresh fuel helps but won’t remove varnish or clogs. Cleaning the carb is needed for hardened deposits.
How often should I replace carb gaskets?
Replace gaskets each time you disassemble the carb or at least every season if you use the generator often.
Is carb cleaner safe for all parts?
Carb cleaner is safe for metal parts. Avoid soaking rubber diaphragms and some plastic parts; use mild cleaner or replace them.
What if the engine runs better with choke on?
That suggests a lean condition or clogged main jet. Cleaning jets and checking air leaks usually fixes it.
Conclusion
Cleaning a generator carb restores reliable starts and steady power. Follow the step-by-step method, use the right tools, replace worn parts, and adopt simple storage habits to reduce future problems. Start with safety, take photos, and use a rebuild kit when possible—those small steps save a lot of time. Try the process on your unit this weekend, leave a note of your results below, or subscribe for more hands-on engine tips.