
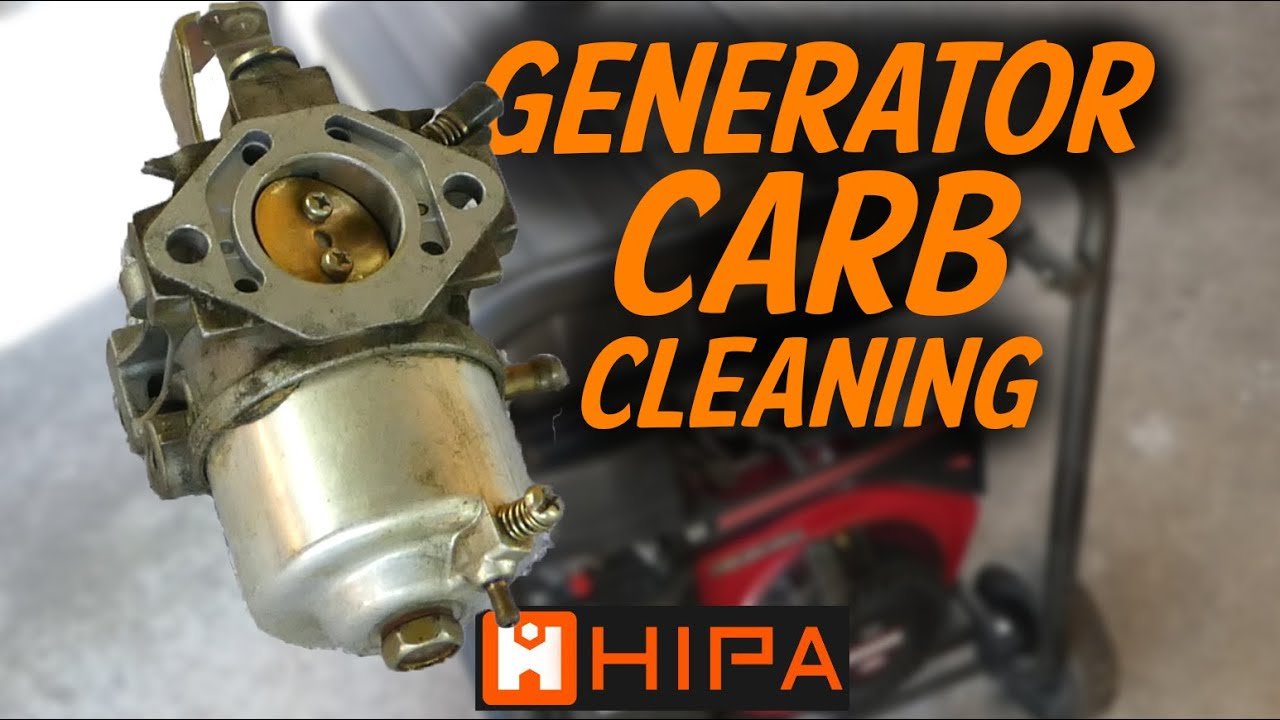
When your generator sputters or fails to start, a dirty carburetor might be the culprit. You rely on your generator for backup power, so keeping it in top shape is essential.
Cleaning the carburetor can seem daunting, but it doesn’t have to be. This guide will walk you through the best way to clean your generator carburetor, making the process simple and effective. Imagine the peace of mind you’ll have, knowing your generator is running smoothly and ready when you need it most.
By the end of this article, you’ll have the knowledge and confidence to tackle this task yourself. Let’s dive in and get your generator back in top form!
Tools And Supplies Needed
Gather a few essential tools for cleaning your generator carburetor. You will need a screwdriver, a wrench, and a cleaning solution. Don’t forget safety gear like gloves and goggles. Having these supplies ready will make the cleaning process easier and more efficient.
Cleaning your generator’s carburetor can seem daunting, but having the right tools and supplies makes the job much easier. Knowing what you need not only saves time but also ensures the process goes smoothly. Below is a detailed list of essential tools and supplies that will help you tackle this task efficiently.Basic Tools
You don’t need a full toolbox, but a few key items are essential:- Screwdrivers:A set of both flat-head and Phillips screwdrivers is crucial for removing carburetor screws.
- Wrenches:Having a set of wrenches helps with removing any nuts or bolts that hold the carburetor in place.
- Pliers:Needle-nose pliers are great for handling small components and clamps.
Cleaning Supplies
Cleaning the carburetor requires specific supplies to ensure it’s done right:- Carburetor Cleaner:A dedicated cleaner will break down buildup and grime effectively.
- Compressed Air:This is perfect for blowing out passages and ensuring everything is dry.
- Rags or Paper Towels:Keep these handy for wiping surfaces and cleaning up spills.
Safety Gear
Don’t forget about your safety! Protecting yourself is just as important as the cleaning itself.- Gloves:Use nitrile gloves to protect your hands from harsh chemicals.
- Safety Goggles:These will shield your eyes from any splashes while cleaning.
- Mask:A mask can be helpful if you’re sensitive to fumes from the cleaner.
Optional Tools
While not absolutely necessary, some additional tools can make your job easier:- Brush Set:A set of small brushes can help scrub hard-to-reach areas.
- Magnet:This is handy for retrieving dropped screws or small components.
- Torque Wrench:If you want to ensure everything is tightened properly, this tool is worth considering.

Credit: www.youtube.com
Safety Precautions
Cleaning a generator carburetor is an essential task to ensure optimal performance. However, safety should always come first. Taking the right precautions can prevent accidents and injuries, making your cleaning process smoother and more effective.
Wear Protective Gear
Before you start, put on your protective gear. This includes:
- Safety goggles:Protect your eyes from debris and cleaning agents.
- Gloves:Use chemical-resistant gloves to safeguard your hands.
- Mask:A mask can protect you from inhaling harmful fumes.
Not only does this gear protect you, but it also gives you peace of mind while you work. You wouldn’t want to risk a minor accident that could lead to bigger problems.
Work In A Well-ventilated Area
Choose a clean, well-ventilated space for your task. Fumes from gasoline and cleaning agents can build up quickly in enclosed spaces. Open windows and doors to allow fresh air to circulate.
Consider using a fan to increase airflow. This simple step can significantly reduce the risk of inhaling harmful substances.
Disconnect The Power Source
Always disconnect your generator from its power source before cleaning. This includes unplugging it and turning off the fuel valve. Working on a powered generator can lead to serious injuries.
Take a moment to double-check that everything is off. A small oversight can lead to accidents that could have been easily avoided.
Handle Fuel Safely
Fuel is highly flammable, so take precautions while handling it. Store any gasoline in approved containers and keep them away from heat sources. If you spill any fuel, clean it up immediately to prevent fire hazards.
Consider using a funnel when pouring fuel to minimize spills. It’s a simple step that can save you from a lot of trouble.
Follow Manufacturer Instructions
Refer to the manufacturer’s manual for specific safety precautions related to your generator. Each model has unique features and requirements. Ignoring these guidelines can lead to accidents or damage.
When I cleaned my generator for the first time, I didn’t check the manual. I ended up missing a crucial step that could have saved me time and effort. Learn from my mistake—always check the manual first.
By taking these safety precautions seriously, you ensure a safer cleaning experience. What steps will you prioritize to protect yourself during your next generator maintenance?
Removing The Carburetor
Cleaning a generator carburetor can improve performance. Start by removing it carefully from the generator. Use a suitable cleaner and a soft brush to remove dirt and grime. Rinse it well and let it dry before reinstalling. This simple process can help your generator run smoothly.
Removing the carburetor from your generator can seem daunting, but it’s a crucial step in maintaining its performance. A clean carburetor ensures your generator runs smoothly and efficiently. Let’s walk through the process of removing the carburetor, making it as straightforward as possible.Disconnecting Fuel Lines
Start by turning off the fuel valve. This prevents any fuel from leaking while you work. Next, locate the fuel lines connected to the carburetor. – Use a pair of pliers to gently pinch the clamps holding the fuel lines. – Carefully slide the clamps away from the carburetor. – Slowly pull the fuel lines off, letting any excess fuel drain into a container. Always have a rag handy to wipe up any spills. Have you ever noticed how a small leak can lead to big headaches? Keeping your workspace clean will help you focus on the task.Detaching Mounting Bolts
Once the fuel lines are disconnected, it’s time to remove the mounting bolts. – Locate the bolts securing the carburetor to the engine. – Use a socket wrench to loosen and remove them. Be sure to keep these bolts in a safe place; losing them can delay your project. After removing the bolts, gently wiggle the carburetor to break any seals. You might feel some resistance, but don’t force it; a little patience goes a long way. Isn’t it satisfying when everything comes apart smoothly? That’s the feeling you want as you prepare to clean your carburetor. Now that you’ve successfully removed the carburetor, you’re one step closer to ensuring your generator runs like new.Disassembling The Carburetor
Disassembling the carburetor is an important step in cleaning. It helps you access all parts. This process ensures proper maintenance and better performance. Follow these steps carefully to avoid mistakes.
Removing The Float Bowl
Start by locating the float bowl. It is usually at the bottom of the carburetor. Use a screwdriver to remove the screws. Keep these screws in a safe place.
Gently lift the float bowl off. Be careful not to damage any parts. Check for dirt or old fuel inside. Clean it thoroughly with carburetor cleaner. Make sure to remove all residue.
Inspecting Jets And Needles
Next, inspect the jets and needles. These parts control fuel flow. Use a flashlight to look for clogs. Clear any blockages with a fine wire.
Check the condition of the needles. They should be smooth and free of wear. Clean them gently to avoid damage. A clean jet and needle improve engine performance.
Cleaning The Components
Cleaning the generator carburetor is essential for smooth operation. Start by removing the carburetor and inspecting its parts. Use a carburetor cleaner and a soft brush to remove dirt and debris. Regular maintenance keeps your generator running efficiently.
Cleaning the carburetor of your generator is essential for its optimal performance. Over time, dirt and grime can build up, leading to reduced efficiency and potential breakdowns. Focusing on cleaning the components thoroughly will ensure that your generator runs smoothly and lasts longer.Using Carburetor Cleaner
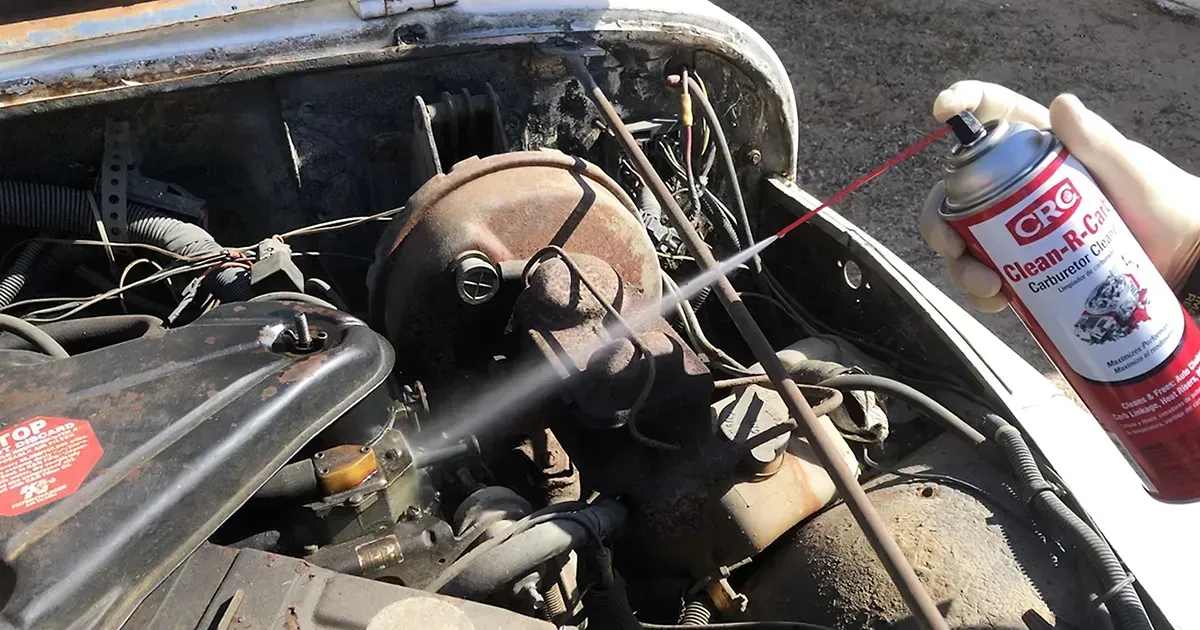
Carburetor cleaner is your best friend in this process. It effectively dissolves stubborn deposits and grime. You can find it at most auto parts stores or online. 1. Spray liberally: Start by spraying the cleaner directly into the carburetor’s throat. 2. Let it soak: Give it a few minutes to penetrate the dirt. 3. Wipe clean: Use a clean cloth to wipe away the loosened debris. Make sure to wear gloves while doing this. The chemicals in the cleaner can be harsh on your skin.Brushing Away Deposits
A soft-bristled brush can work wonders for stubborn deposits. Use it alongside the carburetor cleaner for the best results. – Target tough spots: Focus on areas where dirt tends to accumulate, like the jets and float bowl. – Be gentle: Avoid using too much force; you don’t want to damage any delicate parts. After brushing, rinse everything with clean water. This step helps remove any leftover cleaner and debris. Cleaning your generator’s carburetor components not only enhances performance but also extends its life. Have you noticed any performance issues lately? Taking the time to clean can make a significant difference.
Credit: wenproducts.com
Reassembling The Carburetor
Cleaning a generator carburetor can improve performance and extend its life. Start by removing the carburetor, then use a cleaner to eliminate dirt and debris. Reassemble it carefully, ensuring all parts are in place for smooth operation. Regular maintenance keeps your generator running efficiently.
Reassembling the carburetor is a critical step in ensuring your generator runs smoothly after a thorough cleaning. It’s essential to approach this task methodically to avoid any misalignments or improper fittings. A well-reassembled carburetor not only enhances performance but also prolongs the life of your generator.Reattaching The Float Bowl
Start by taking the float bowl and aligning it with the main body of the carburetor. The float is crucial for maintaining the correct fuel level, so ensure it moves freely. Use the screws you removed earlier to secure the float bowl. Tighten them evenly to avoid any warping. Remember, over-tightening can lead to cracks, which may cause leaks. Always check for any gaps after reattachment.Securing Jets And Needles
Next, focus on the jets and needles. These small parts play a significant role in fuel delivery and air mixture. Carefully insert the jets into their designated holes. Ensure they sit flush and are oriented correctly. Don’t forget to secure the needle valve. This step is vital, as a loose needle can lead to fuel overflow. After everything is in place, do a final inspection. Double-check that all parts are aligned and tightened appropriately. Have you ever had a misaligned carburetor cause performance issues? Taking the time to reassemble correctly can save you from future headaches.Reinstalling The Carburetor
Cleaning your generator’s carburetor is crucial for smooth operation. Start by removing it from the generator. Use a carburetor cleaner to remove dirt and buildup. Reinstall carefully, ensuring all connections are secure. This simple process helps keep your generator running efficiently.
Reinstalling the carburetor is a crucial step after cleaning it. Proper reinstallation ensures your generator runs smoothly and efficiently. Let’s break down the process into manageable parts, so you can feel confident tackling this task.Connecting Fuel Lines
Start by connecting the fuel lines. Ensure they are free of debris and damage. It’s best to use new hose clamps if the old ones look worn out. Align the fuel lines with the carburetor ports. Push them securely onto the fittings. A snug fit prevents leaks and ensures proper fuel flow. Check that the lines are routed correctly. Misrouted lines can lead to fuel starvation or flooding. Take a moment to double-check your work before moving on.Tightening Mounting Bolts
Next, focus on tightening the mounting bolts. Use a torque wrench for precision. This step is essential to avoid vibrations that can loosen the carburetor over time. Start by hand-tightening each bolt before using the wrench. This prevents cross-threading and ensures a proper seal. Work in a crisscross pattern to distribute the pressure evenly. Remember to consult your generator’s manual for the specific torque settings. Following these guidelines will help avoid any issues. A well-secured carburetor contributes significantly to your generator’s overall performance. Taking the time to properly reinstall the carburetor can save you headaches later. Have you ever struggled with a generator that just wouldn’t start? A simple oversight in these steps could be the reason.Testing The Generator
Cleaning a generator carburetor ensures smooth operation. Start by removing the carburetor and using a cleaner to remove dirt. Regular maintenance keeps your generator running efficiently and extends its life.
Testing the generator is a crucial step after cleaning the carburetor. It ensures that your generator operates efficiently and reliably. You’ll want to confirm that everything is functioning as it should before relying on it for your power needs.Starting The Engine
To begin testing, make sure the generator is properly connected to fuel and all safety features are engaged. Turn the ignition switch to the “On” position. Give the starter a firm pull or press the start button. If the engine starts smoothly, it’s a good sign. However, if it struggles, it may need further adjustment. Pay attention to any unusual noises. These could indicate additional issues that need addressing.Checking For Smooth Operation
Once the engine is running, let it idle for a few minutes. Observe how it runs. Is it stable, or does it sputter? A smooth operation is a sign that your cleaning efforts were successful. You can also check the generator’s output by connecting a small load, such as a light bulb or a fan. Does it respond well? If it dims or shuts off, there may still be problems to resolve. Always remember to regularly test your generator. It helps you catch issues early before they become major problems. What’s your experience with maintaining generators?Tips For Maintenance
Keeping your generator carburetor clean is crucial. Regular maintenance prevents issues. Here are some practical tips to help you.
Regular Cleaning Schedule
Set a cleaning schedule for your generator. Clean it every few months. This keeps the carburetor in good shape. Remove dirt and debris each time.
Check the air filter regularly. A dirty filter can cause problems. Change it if it looks worn out. This simple step can save you money.
Using Clean Fuel
Always use clean fuel in your generator. Dirty fuel can clog the carburetor. Buy fuel from reputable sources. This ensures better quality and fewer issues.
Consider using fuel additives. They can help keep your fuel clean. These additives reduce the chance of buildup in the carburetor.
Credit: www.crcindustries.com
Frequently Asked Questions
How Often Should I Clean My Generator Carburetor?
You should clean your generator carburetor at least once a year. However, if you use your generator frequently, consider cleaning it every few months. Regular maintenance prevents fuel buildup and ensures efficient operation. Always check the manufacturer’s guidelines for specific recommendations.
What Tools Do I Need To Clean A Carburetor?
To clean a carburetor, gather basic tools like a screwdriver, wrench set, and a cleaning brush. Additionally, use carburetor cleaner spray and a soft cloth for detailed cleaning. Having a bowl to catch any fuel or debris is also helpful.
Ensure you have safety goggles for protection.
Can I Use Vinegar To Clean A Carburetor?
Yes, vinegar can effectively clean a carburetor. Its acidity helps dissolve grime and deposits. However, while vinegar is a natural cleaner, it may not be as effective as commercial carburetor cleaners. Use it as an alternative, but ensure thorough rinsing afterward to avoid corrosion.
What Are Signs Of A Dirty Carburetor?
Signs of a dirty carburetor include difficulty starting the generator, irregular idling, or stalling during operation. You may also notice decreased power output or fuel leaks. If your generator runs rough or emits excessive smoke, these are indicators that cleaning is necessary.
Conclusion
Cleaning your generator carburetor keeps it running smoothly. Follow the steps outlined in this guide for best results. Regular maintenance prevents bigger issues down the line. Always use the right tools and safety gear. Pay attention to details while cleaning.
A clean carburetor improves performance and efficiency. This small effort leads to a longer generator life. Take care of your equipment, and it will take care of you. Enjoy reliable power whenever you need it. Start your cleaning process today for better performance tomorrow.