
Disassemble the carb, soak metal parts in cleaner, blow passages, replace gaskets and reassemble correctly.
As a technician who has serviced dozens of portable units, I’ll walk you through how to clean generator carburetor Westinghouse models clearly and safely. This guide explains each step, tools, common problems, and when cleaning is not enough. Read on to learn practical tips that save time and keep your Westinghouse running reliably.

Why cleaning the carburetor matters for your Westinghouse
A dirty carburetor is the top cause of starting trouble, rough idle, and low power on small generators. Carburetors mix air and fuel in precise ratios. Old gas, varnish, and debris block tiny jets and passages. Knowing how to clean generator carburetor Westinghouse units restores fuel flow and avoids costly replacements.
Cleaning can fix most performance issues quickly. It also prevents damage to the engine and reduces downtime during storms or work. If you keep fuel fresh and clean the carb regularly, your Westinghouse will start easier and run cleaner.

Safety, tools, and parts you’ll need
Safety first. Work in a well-ventilated area. Wear eye protection, gloves, and avoid sparks near fuel.
Essential tools and supplies
- Basic socket and screwdriver set
- Needle-nose pliers and small picks
- Carburetor cleaner spray and parts soak solution
- Compressed air or a can of compressed air
- Replacement gaskets, O-rings, and a carb rebuild kit for your Westinghouse model
- Small container for soaking parts and clean rags
- Fuel catch pan and drain syringe or bulb
I keep a small parts tray and labeled bags. That prevents losing tiny jets or screws. If you’re missing a gasket or bowl seal, order a Westinghouse carburetor rebuild kit before reassembly. Having the right parts avoids leaks and poor performance.

Step-by-step: how to clean generator carburetor Westinghouse (detailed guide)
These steps apply to most Westinghouse portable generator carburetors. Read the unit manual first. Take photos during disassembly to help during reassembly.
- Preparation
- Turn off the fuel valve and drain the fuel bowl into a container.
- Remove the air filter and housing to access the carburetor.
- Note throttle and choke linkages. Take photos or mark positions.
- Remove the carburetor
- Disconnect fuel lines using pliers and plug them to prevent spills.
- Unscrew mounting bolts and gently pull the carburetor free.
- Place the carburetor on a clean bench.
- Disassemble the carburetor
- Remove the float bowl screws and drain any remaining fuel.
- Take out the float pin, float, and needle valve carefully.
- Remove jets, screws, and any removable passages. Lay parts out in order.
- Clean parts thoroughly
- Spray carburetor cleaner into all orifices and jets until clear.
- Soak metal parts (not plastic or rubber) in a carb-clean soak for 20–30 minutes.
- Use thin wires or carb picks only if needed to clear stubborn varnish.
- Blow out each passage and jet with compressed air until dry and free of debris.
- Inspect and replace
- Check float for fuel inside or deformities. Replace if damaged.
- Replace bowl gaskets, O-rings, and needle valve if they show wear.
- Compare new parts to old to ensure the right fit. Never reuse brittle rubber parts.
- Reassemble and test
- Reassemble in reverse order using photos as reference.
- Reattach the carburetor, reconnect fuel lines, and reinstall the air filter.
- Turn on the fuel valve and check for leaks.
- Start the generator and adjust idle and mixture as per the service manual.
Common mistakes to avoid
- Do not force jets with large tools; jets are fragile.
- Don’t soak plastic floats or rubber parts; they can swell or weaken.
- Avoid using wire brushes inside tiny passages; they can enlarge or damage orifices.
If you follow these steps, you’ll handle most cleaning jobs confidently. Learning how to clean generator carburetor Westinghouse models well saves time and money.

Carburetor components, wear signs, and diagnosis
Understanding parts helps you diagnose issues fast. Key parts include float, needle valve, main jet, pilot jet, float bowl, and throttle plates.
Signs and causes
- Hard starting after storage: stale fuel varnish in jets.
- Rough idle or surging: clogged pilot jet or air leak.
- Flooding or black smoke: stuck needle valve or warped float.
- No fuel in bowl: blocked fuel inlet or clogged filter.
A quick diagnosis tip: If the bowl is empty but fuel is in the tank and valve is open, the needle or inlet passage is likely blocked. Knowing this speeds up repairs and prevents unnecessary part swaps.
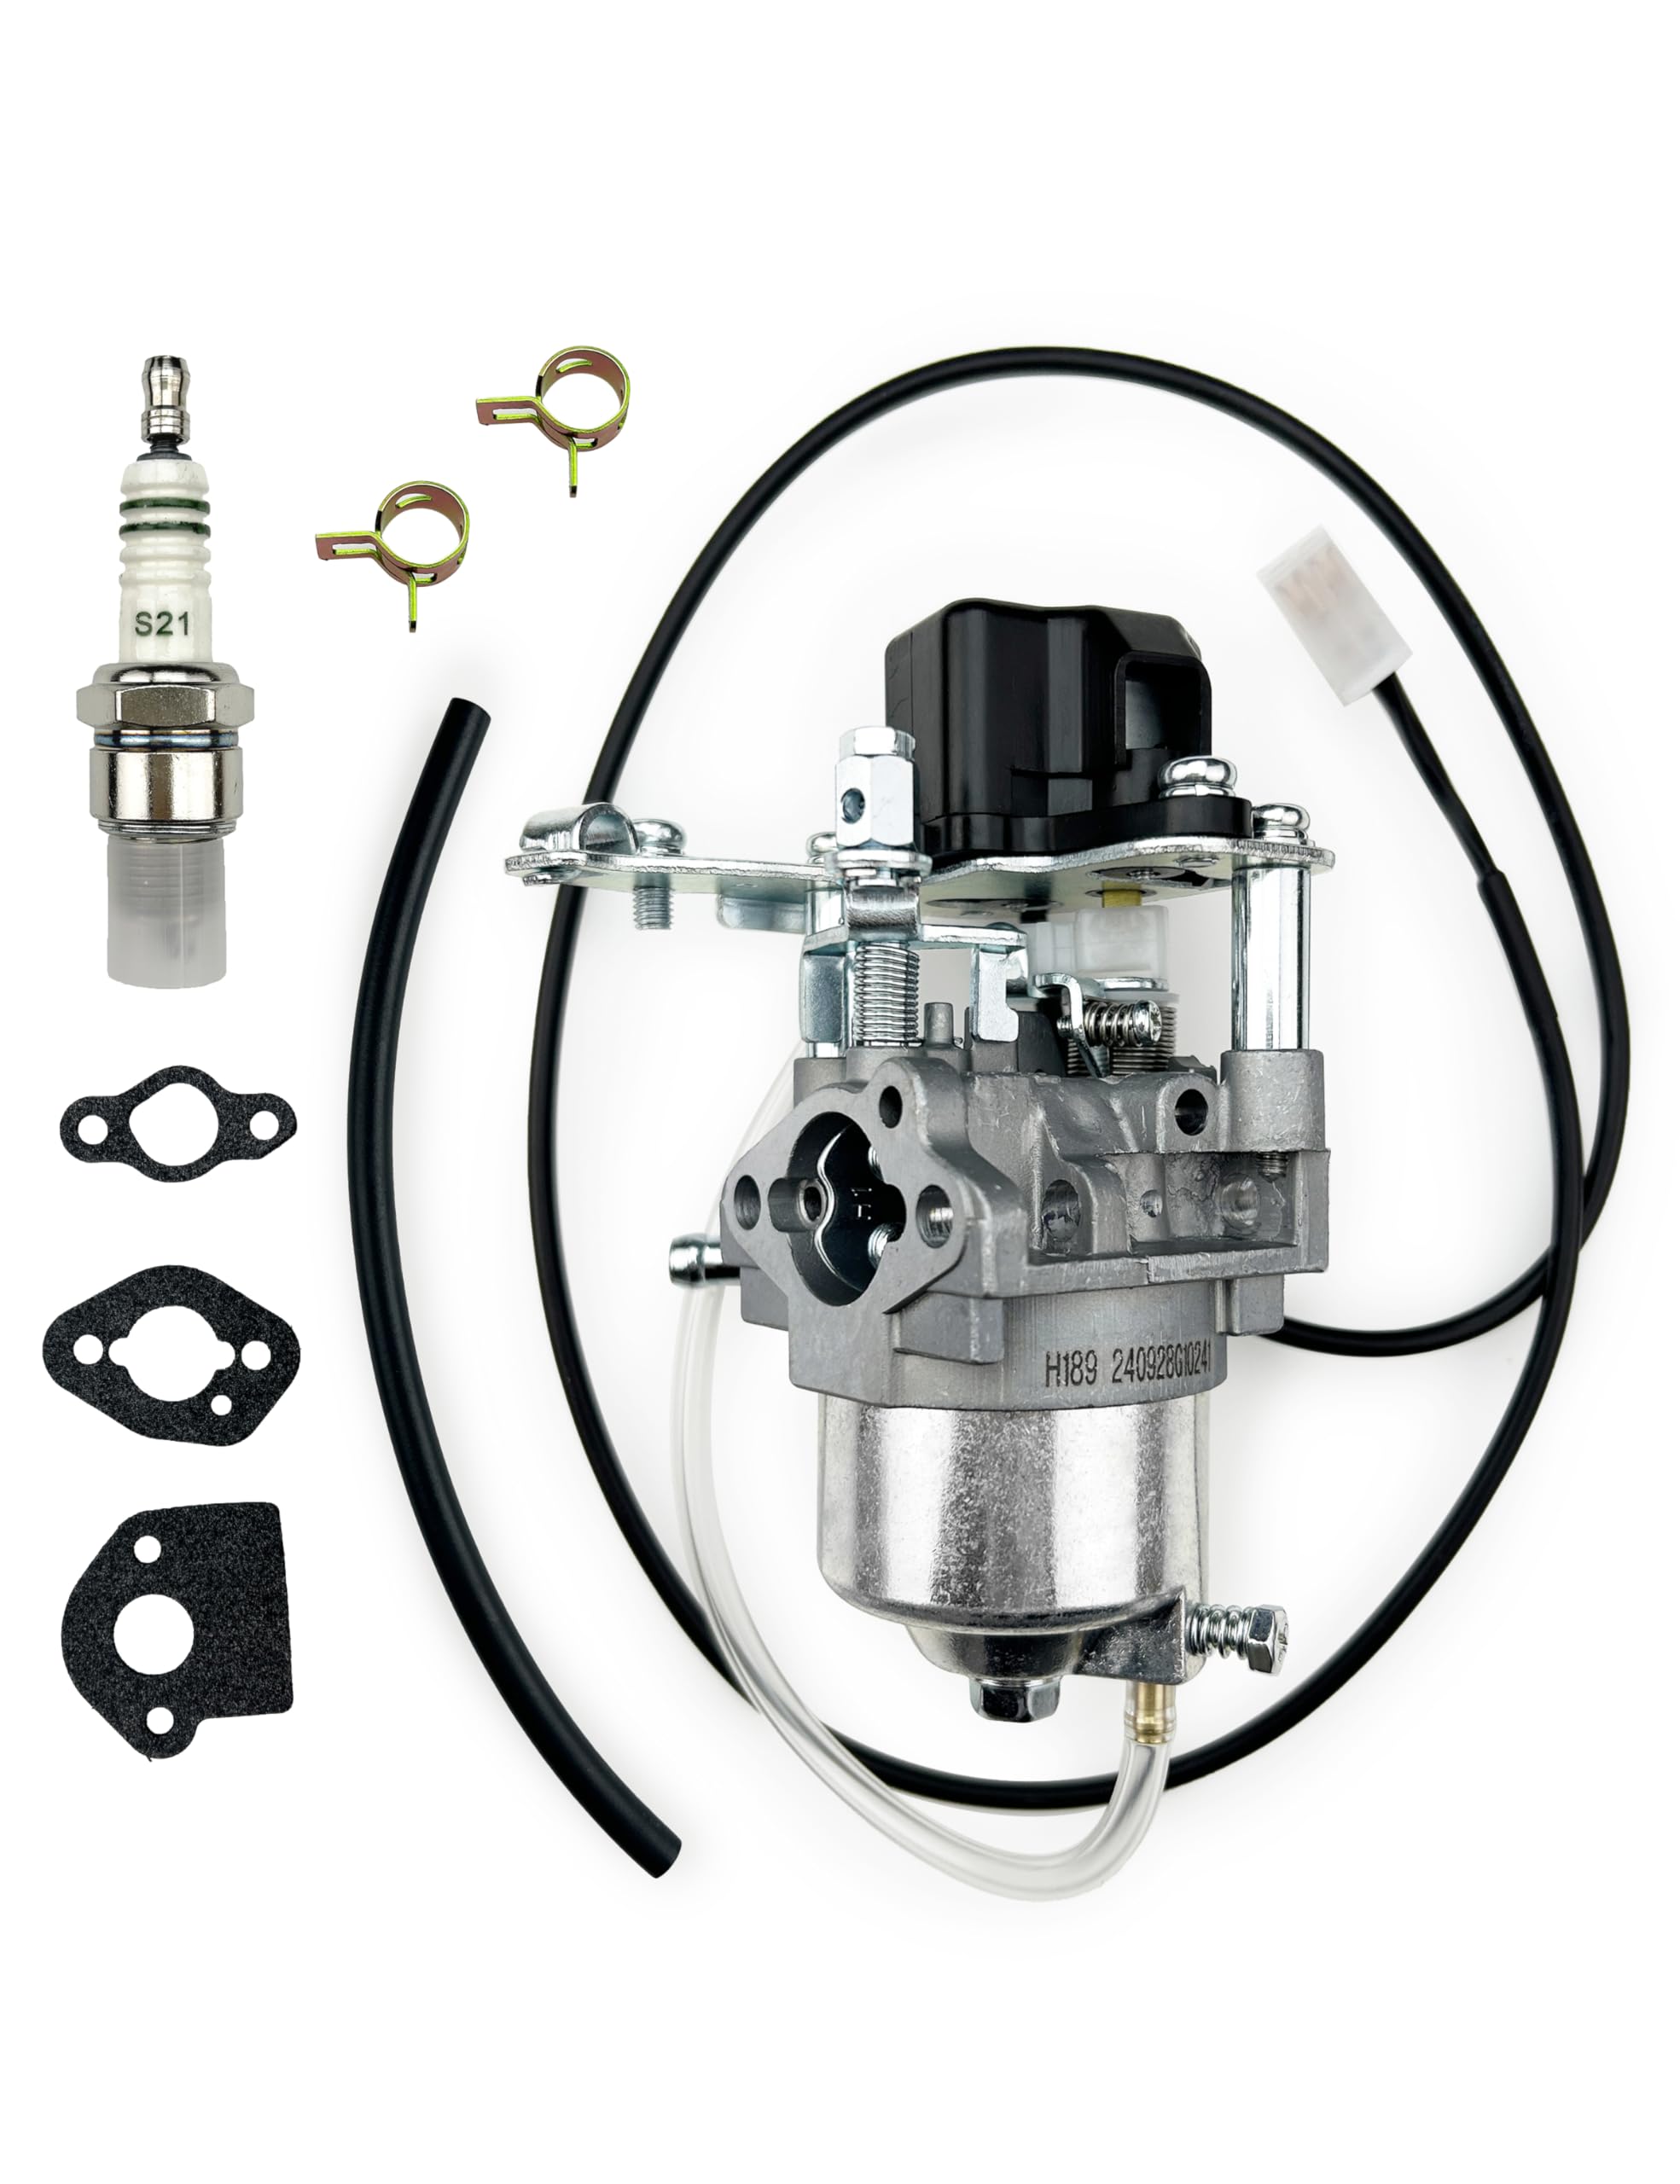
Rebuild vs replace: when cleaning isn’t enough
Cleaning often works, but not always. Rebuild when:
- Gaskets, needle, or float are worn or brittle.
- Jets are corroded or damaged.
- The carburetor body is heavily pitted or damaged.
Replace the carburetor if:
- Damage is severe or replacement is cheaper than repair.
- The unit has extensive corrosion from old fuel.
I once cleaned a carb thoroughly and still had poor idle. A leak in the float seat caused fuel starvation. Replacing a $20 rebuild kit solved it. Rebuild kits are inexpensive and worth the investment.

Practical tips and lessons from the field
These are tips I learned the hard way while working on many Westinghouse units.
- Always photograph linkages before disassembly. It saves time and frustration.
- Mark the orientation of the float and jets with a small marker.
- Use fresh fuel and a fuel stabilizer if you store the generator over winter.
- Run the generator for a few minutes every month to keep the carburetor passages wet with fresh fuel.
- Keep a spare rebuild kit and a small can of carb cleaner in your emergency kit.
I once had a homeowner think their starter motor was bad. It was just a clogged pilot jet. A 30-minute clean, a new gasket, and the generator ran like new.

Preventive maintenance schedule for Westinghouse carburetors
A regular schedule keeps problems away and makes cleaning less frequent.
- After every use
- Check fuel level and ensure the fuel valve closes fully.
- Monthly
- Run the generator for 10–15 minutes.
- Yearly
- Drain old fuel, replace fuel filter, inspect and clean carburetor if needed.
- Before long-term storage
- Add fuel stabilizer, run fuel through the carburetor, or drain the fuel system completely.
These simple steps cut down on deep cleaning needs and extend carburetor life. Preventive care is the easiest way to avoid emergency repairs.

Frequently Asked Questions of how to clean generator carburetor westinghouse
How often should I clean the carburetor on my Westinghouse generator?
Clean the carburetor yearly or whenever you have storage-related starting issues. If you use your generator frequently, inspect and clean only when symptoms appear.
Can I use brake cleaner instead of carburetor cleaner?
Brake cleaner can work, but dedicated carburetor cleaner is safer for jets and evaporates cleanly. Avoid soaking rubber or plastic parts in strong solvents.
Is a carburetor rebuild kit necessary after cleaning?
Not always. Replace gaskets and needle valve when they are worn or brittle. A rebuild kit is a small cost that improves reliability.
What if the generator still runs poorly after cleaning the carburetor?
Check for air leaks, fuel quality, and spark plug condition. If problems persist, consider a carburetor rebuild or professional tuning.
Can I clean the carburetor without removing it?
You can spray cleaner into the intake and jets while installed, but full cleaning requires removal for best results. Removing it lets you inspect and replace internal parts properly.
How long does a full carburetor cleaning take?
For most portable Westinghouse units, plan 45–90 minutes including disassembly, soak time, and reassembly. Faster with practice and the right tools.
Conclusion
Cleaning your Westinghouse carburetor is a practical skill that restores performance and prevents inconvenient failures. Follow the safety steps, use the right tools, and replace worn parts when needed. Start with a careful inspection, then clean jets and passages thoroughly—this approach fixes the majority of issues.
Take action today: check your fuel quality, pick up a rebuild kit if parts look worn, and schedule a basic carburetor clean. If this guide helped, try the steps on your unit and share your results or questions in the comments.