
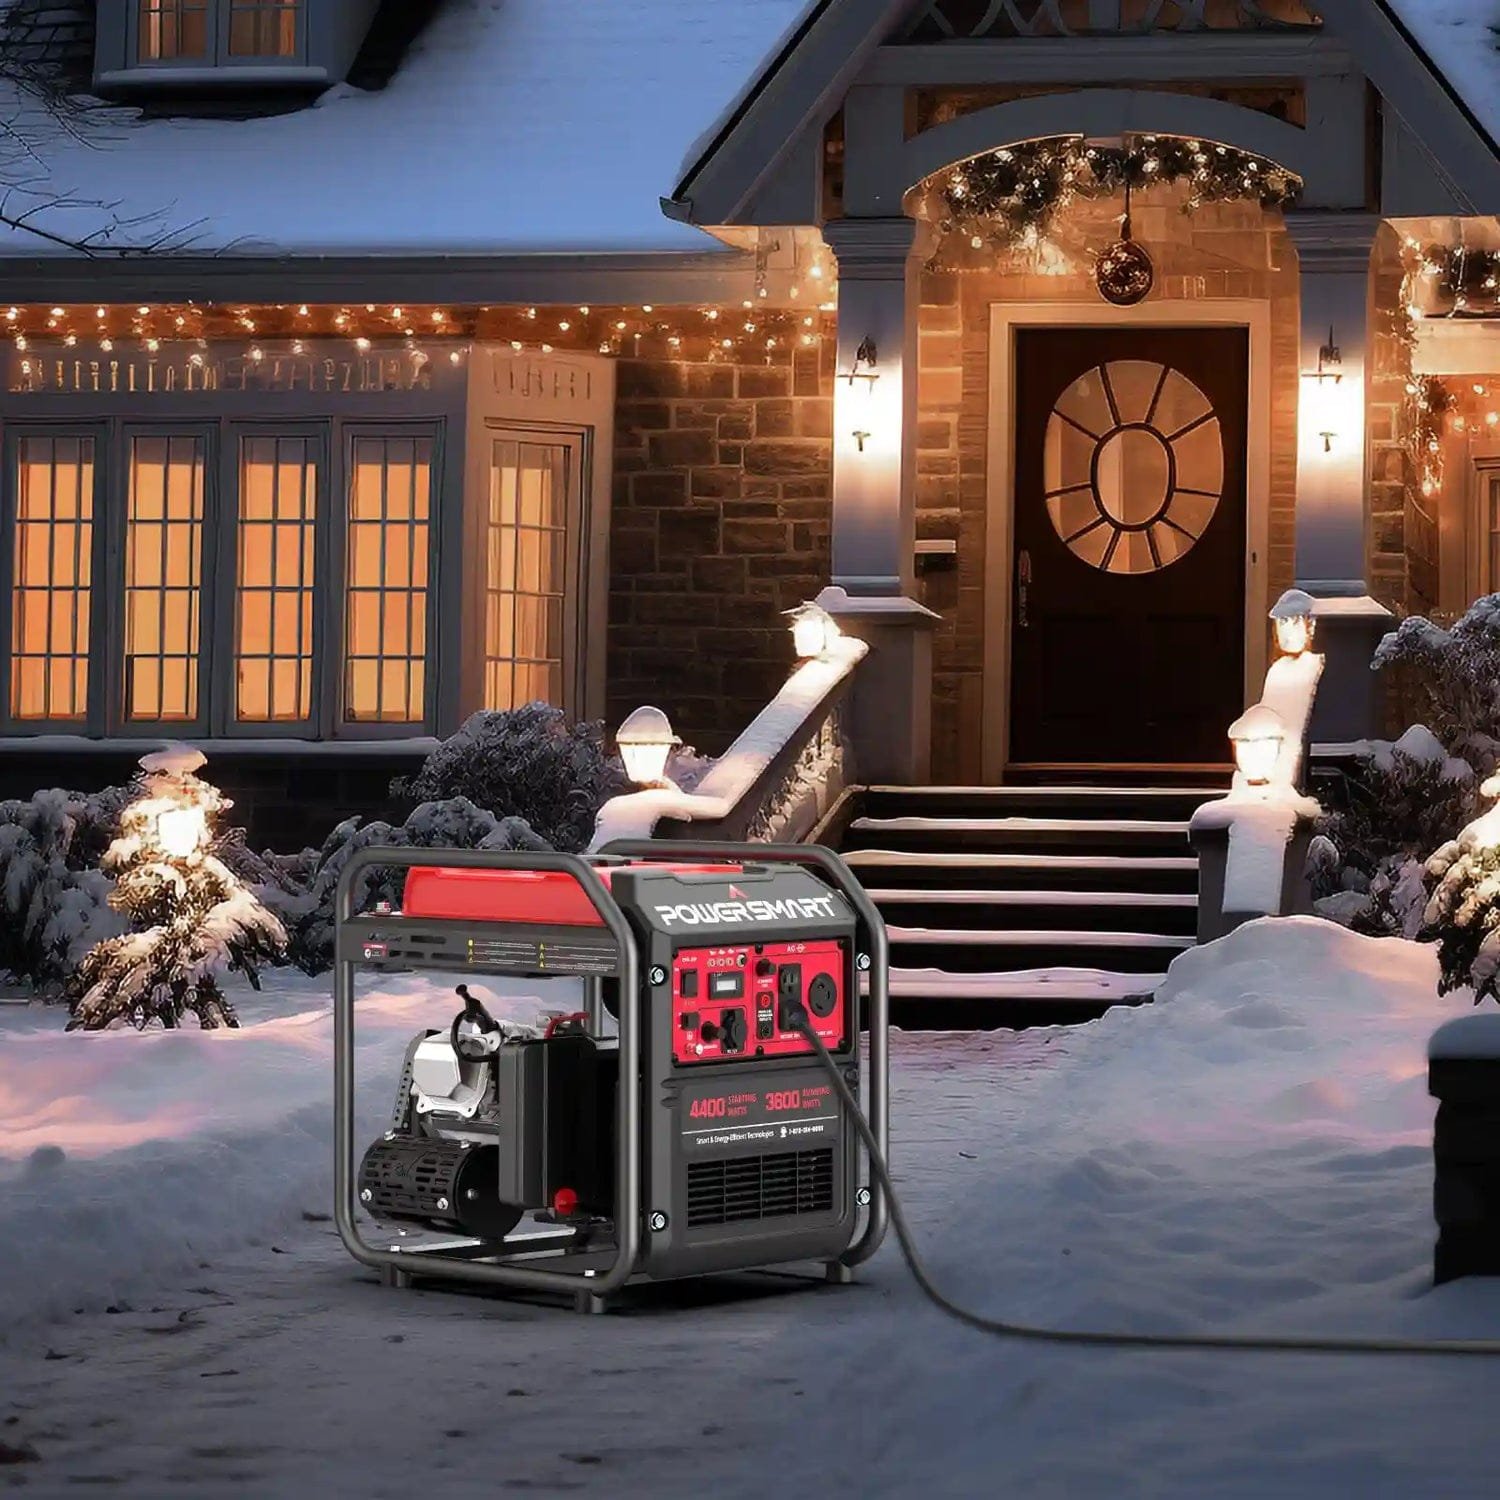
Winter is coming, and if you rely on your generator for backup power, now is the perfect time to prepare it for the cold months ahead. You don’t want to face a chilly power outage only to find your generator won’t start.
Winterizing your generator is simple but crucial to keep it running smoothly when you need it most. In this guide, you’ll learn easy, step-by-step tips to protect your generator from damage caused by cold weather and long storage. Follow these steps, and you’ll ensure your generator stays ready and reliable all winter long.
Keep reading to find out exactly how to winterize your generator and avoid costly repairs or frustrating failures.

Credit: www.youtube.com
Prepare The Fuel Tank
Preparing the fuel tank is a key step to protect your generator during winter. Proper care prevents fuel from breaking down and clogging the system. This keeps your generator ready to start when you need it most.
Follow simple steps to treat the fuel tank before storing the generator. This reduces damage and extends the life of your equipment.
Drain Old Fuel Completely
Remove all old fuel from the tank. Gasoline breaks down fast and leaves sticky deposits. These deposits clog the carburetor and fuel lines. Use a siphon pump or fuel line drain to empty the tank fully.
Pour a fuel stabilizer into the tank after draining old fuel. This chemical keeps gasoline fresh longer. It stops the fuel from becoming thick and gummy. Follow the product instructions for the right amount to add.
Run The Generator To Circulate Stabilizer
Start the generator and let it run for 5 to 10 minutes. This moves the stabilizer through the fuel system. It protects the carburetor, fuel lines, and engine parts. Turn off the generator after running it.
Empty The Carburetor Bowl
Drain fuel from the carburetor bowl to avoid clogs. Run the generator until it stops from lack of fuel. This clears out any remaining gasoline. Alternatively, remove the carburetor bowl and drain it manually.
Add Fuel Stabilizer
Adding fuel stabilizer is an important step to winterize your generator. Fuel stabilizer keeps gasoline fresh and prevents it from breaking down during storage. It stops the fuel from turning sticky or forming varnish inside the engine. This helps avoid clogs in the carburetor and fuel lines when you use the generator again.
Proper use of fuel stabilizer extends the life of your generator’s fuel system. It also reduces the need for costly repairs caused by bad fuel. Using fuel stabilizer is simple and effective for long-term generator care.
Add Fuel Stabilizer To A Full Tank
Fill the fuel tank almost full. Leave some space for the stabilizer to mix well. Pour the correct amount of fuel stabilizer into the tank. Check the product label for the right dose. Too little stabilizer will not protect the fuel properly.
Run The Generator To Circulate Stabilizer
Start the generator and let it run for 5 to 10 minutes. This moves the stabilized fuel through the carburetor and fuel lines. Circulating the fuel prevents buildup of old gasoline inside the engine parts. Turn off the generator after running it.
Store Generator With Stabilized Fuel
Keep the generator in a dry, cool place after adding stabilizer. Avoid storing it in direct sunlight or damp areas. Make sure the fuel tank cap is tight to stop moisture from entering. Proper storage keeps the fuel fresh and ready for use.
Run Generator To Circulate Stabilizer
Start by adding fuel stabilizer to the generator’s tank. Then, run the generator for a few minutes to spread the stabilizer through the system. This helps keep the fuel fresh and prevents damage during winter storage.
Adding fuel stabilizer alone is not enough. The stabilizer must reach every part of the fuel system. Running the generator helps spread the stabilizer throughout the tank and carburetor. This prevents fuel from breaking down or clogging the engine during storage.
Start the generator and let it run for about 5 to 10 minutes. This short run time allows the stabilizer to flow into the carburetor and fuel lines. Avoid running it too long to save fuel and reduce wear.
How To Run The Generator Safely
Place the generator outside or in a well-ventilated area. Keep it away from flammable materials. Turn on the generator and let it run at no load or low load. Watch for any unusual sounds or smells. Turn it off if you see a problem.
Benefits Of Circulating Stabilizer
Circulating stabilizer protects the fuel system from corrosion. It stops fuel from turning sticky or varnished. This keeps the engine parts clean and ready for use. It also reduces the chance of costly repairs after winter.
Credit: outdoormachinery.com
Drain Fuel Lines And Carburetor
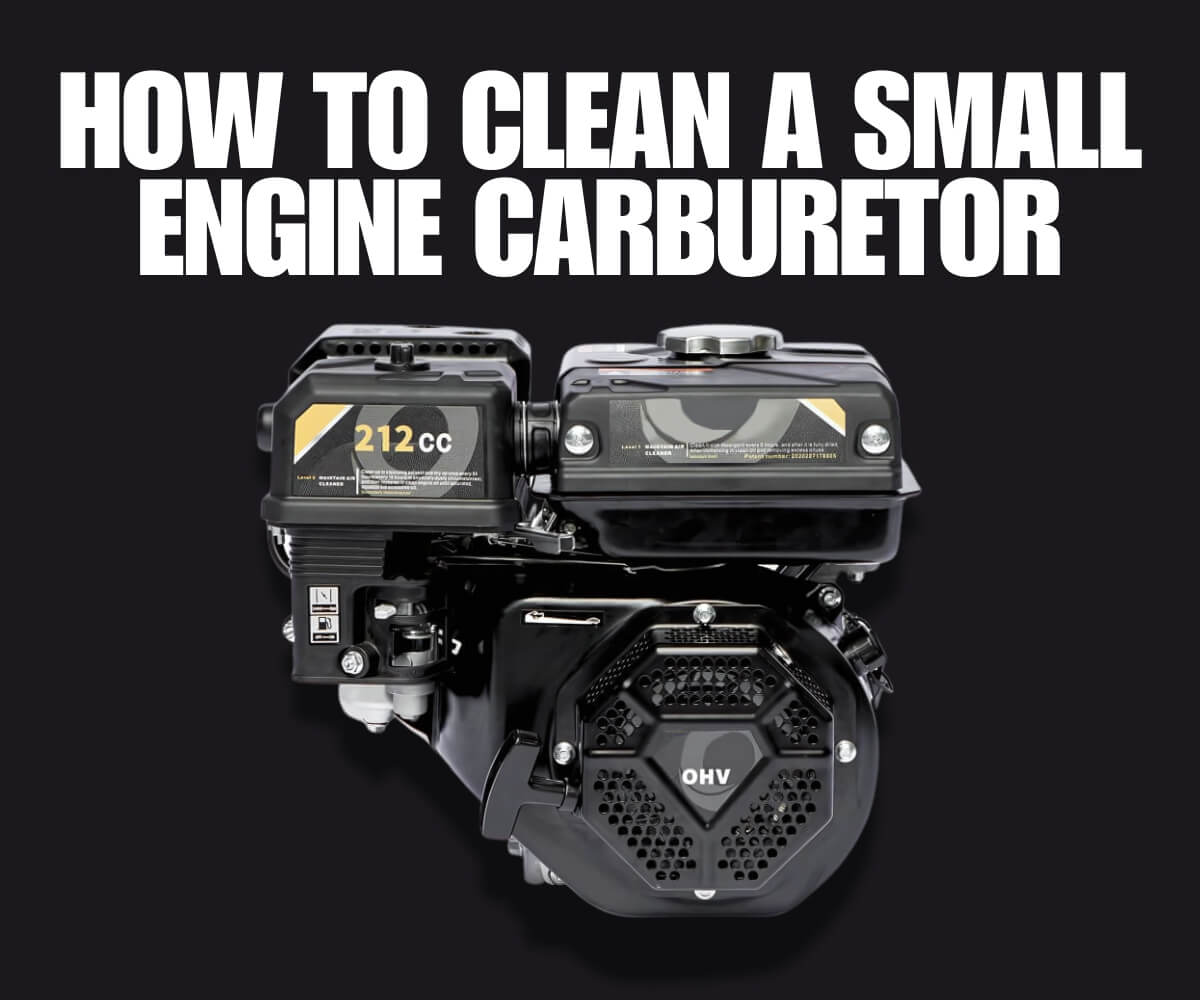
Draining fuel lines and the carburetor is key to winterizing your generator. Gasoline left inside can turn thick and sticky. This causes blockages that stop your generator from starting.
Old fuel clogs small parts inside the carburetor. This can lead to costly repairs or even replacement. Draining these parts removes stale gasoline. It keeps your generator ready for the next use.
Preparing To Drain Fuel Lines
Turn off the generator and let it cool down. Find the fuel valve and close it to stop gas flow. Locate the fuel lines running from the tank to the carburetor.
Use a small container to catch any fuel. Carefully disconnect the fuel lines. Let the fuel drain completely. Wear gloves and work in a well-ventilated area for safety.
Draining The Carburetor Bowl
Locate the carburetor bowl underneath the engine. Use a wrench to loosen the drain screw or petcock. Let all fuel flow into your container. Tighten the drain screw securely once empty.
Some generators need the carburetor to be run dry instead. Run the engine until it stops from lack of fuel. This clears fuel from inside the carburetor.
Checking For Residual Fuel
Inspect fuel lines and carburetor for leftover gasoline. Use compressed air to blow out any small amounts. Make sure no liquid remains that can gum up parts.
Reattach fuel lines tightly. Open the fuel valve if needed for storage. Proper draining helps prevent engine damage during winter months.
Change Engine Oil
Changing the engine oil is a key step in winterizing your generator. Old oil contains dirt and moisture that can harm the engine during storage. Fresh oil keeps the engine parts lubricated and prevents corrosion. This simple task extends the life of your generator and ensures it runs smoothly when needed.
Prepare Your Generator
Turn off the generator and let the engine cool. Place a drain pan under the oil drain plug. Make sure the area is clean to avoid dirt entering the engine. Gather the right type and amount of oil recommended by the manufacturer.
Drain The Old Oil
Remove the oil fill cap to let air in. Unscrew the drain plug carefully. Allow all the old oil to drain out completely. This removes contaminants and moisture from the engine. Dispose of the used oil properly at a recycling center.
Refill With Fresh Oil
Replace the drain plug tightly. Pour the new oil slowly into the fill hole. Use a funnel to avoid spills. Check the oil level with the dipstick. Add oil until it reaches the correct mark.
Check For Leaks And Test
Wipe off any spilled oil from the engine. Start the generator and let it run for a few minutes. Look for leaks around the drain plug and oil filter. Turn off the generator and check the oil level again. Add more if needed.
Fog The Cylinder
Fogging the cylinder is an important step in winterizing your generator. This process protects the engine’s internal parts from rust and corrosion during storage. Applying fogging oil creates a thin coating inside the cylinder. This coating prevents moisture buildup and keeps the metal parts safe.
Fogging also helps maintain engine performance. When you start the generator again, the engine will run smoothly. It avoids damage that can occur if moisture is left inside. This step extends the life of your generator and reduces repair costs.
Preparing The Generator For Fogging
First, make sure the generator is off and cooled down. Remove the spark plug carefully. This gives access to the cylinder for oil application. Clean the spark plug and set it aside in a safe place.
Applying Fogging Oil To The Cylinder
Use a fogging oil spray or a few drops of two-stroke oil. Spray or drip the oil directly into the cylinder through the spark plug hole. Slowly pull the starter cord a few times. This spreads the oil inside the cylinder evenly.
Reinstalling The Spark Plug And Final Checks
After applying the oil, replace the spark plug securely. Check the generator for any leftover fuel or dirt. Clean the exterior and store the generator in a dry place. This keeps it ready for use after winter.
Reinstall Spark Plug
Reinstalling the spark plug is a key step in winterizing your generator. It keeps the engine ready for use after storage. A clean, properly tightened spark plug ensures smooth starts and efficient performance.
After cleaning and oiling the spark plug during winter prep, putting it back correctly matters. This step prevents moisture and dirt from entering the engine. It also maintains the right gap for a strong spark.
Check The Spark Plug Gap
Before reinstalling, measure the spark plug gap. Use a feeler gauge for accuracy. The gap should match the generator’s manual. A wrong gap can cause misfires or poor performance.
Clean The Threads And Electrode
Remove any dirt or corrosion from the spark plug threads. Use a wire brush or spark plug cleaner. Clean the electrode gently to keep the spark strong. Dirty plugs reduce engine efficiency.
Apply Anti-seize Compound
Put a small amount of anti-seize on the threads. This prevents the plug from sticking in the cylinder head. It makes removal easier in the next season. Avoid over-applying to stop contamination.
Tighten The Spark Plug Properly
Insert the spark plug by hand first to avoid cross-threading. Use a spark plug socket and wrench to tighten it. Follow the torque specs from the manual. Over-tightening can damage the threads.
Reconnect The Spark Plug Wire
Attach the spark plug wire firmly to the top of the plug. A loose connection stops the spark from reaching the engine. Press until you hear a click or feel it lock in place.
Handle The Battery
Handling the battery is an essential part of winterizing your generator. Cold temperatures can damage the battery and reduce its life. Proper care helps keep the battery charged and ready for use when needed. Follow simple steps to protect your battery during winter storage.
Disconnect Battery
Start by turning off the generator and removing the key. Locate the battery and disconnect the negative cable first. Then, disconnect the positive cable. This prevents any electrical shorts or damage during storage. Use a wrench if necessary to loosen the cable clamps. Keep the battery cables away from the battery terminals to avoid accidental contact.
Store Battery Indoors
Move the battery to a dry, warm place inside your home or garage. Avoid areas that freeze, as cold can cause the battery to lose charge or crack. Place the battery on a shelf or insulated surface to keep it off cold floors. Check the battery charge every few weeks and recharge it if needed. Proper indoor storage extends battery life and ensures your generator starts easily after winter.
Clean The Generator
Cleaning your generator is a key step in winterizing it. Dirt and dust can cause damage during storage. Clean parts help the generator run smoothly next season. This section covers how to wipe down surfaces and maintain the air filter. Simple cleaning keeps your generator in top shape for cold months.
Wipe Down Surfaces
Use a soft cloth to remove dust and dirt from your generator. Clean the outer casing and control panel carefully. Avoid using water directly on electrical parts. A dry or slightly damp cloth works best. Remove grease or grime build-up to prevent corrosion. Wiping down prevents rust and keeps your generator looking good.
Maintain Air Filter
The air filter stops dust from entering the engine. Check it for dirt and debris before storing. If it is dirty, clean it with compressed air or mild soap and water. Let it dry completely before reinstalling. Replace the filter if it is damaged or too dirty. A clean air filter helps your generator breathe better and last longer.

Credit: www.youtube.com
Store In Proper Location
Storing your generator in the right place is crucial for winterizing. A proper storage spot protects the machine from cold, moisture, dust, and pests. These factors can cause rust, damage, and mechanical issues. Choose a location that stays dry and has stable temperatures. This helps keep the generator ready for use when needed.
Before placing the generator in storage, clean it thoroughly. Remove dirt and debris from all surfaces. Dirt can hold moisture and cause corrosion. Also, ensure the generator is completely dry to prevent mold and rust.
Choose A Dry And Covered Spot
Pick a storage area that stays dry all winter. Avoid damp basements or outdoor sheds without proper protection. A covered garage or utility room works well. Cover the generator with a breathable tarp or cloth. This keeps dust away but allows moisture to escape.
Keep Away From Extreme Cold
Extreme cold can harm fuel and engine parts. Store the generator in a place with mild, steady temperatures. Avoid spots near windows or doors that let in cold drafts. A well-insulated garage or basement is ideal.
Ensure Good Ventilation
Proper airflow prevents moisture buildup and mold. Do not seal the generator in plastic bags or airtight containers. Let air circulate around the unit. This reduces rust and keeps the generator in good shape.
Protect From Pests
Mice and insects can damage wiring and fuel lines. Seal gaps and holes around the storage area. Use pest deterrents or traps if needed. Check the generator regularly for signs of pests.
Frequently Asked Questions
How Long Can You Leave Gas Sitting In A Generator?
Gas can sit in a generator for up to one year with fuel stabilizer added. Without stabilizer, use or drain within two weeks to prevent clogging. Store the generator in a cool, dry place to maintain fuel quality and engine performance.
What Is The 20/20/20 Rule For Generators?
The 20/20/20 rule for generators means running the generator for 20 minutes every 20 days at 20% load. This keeps the engine lubricated and fuel fresh. It prevents carburetor clogs and battery drain during storage. Following this rule extends your generator’s lifespan and ensures reliable startup.
What Kind Of Oil Do You Put In A Generator In The Winter?
Use winter-grade oil like SAE 5W-30 or 10W-30 for generators in cold weather. Check the manual for specific recommendations.
Should I Run My Generator Dry Before Storing?
Add fuel stabilizer and run the generator to circulate it. Then, run the generator dry or drain the carburetor before storing. This prevents fuel clogs and protects the engine during storage.
How Do I Prepare My Generator For Winter Storage?
Add fuel stabilizer, run the generator to circulate it, then drain the fuel system.
Why Is Changing Oil Important Before Winterizing?
Old oil can thicken and damage the engine during cold months.
Should I Run The Generator Dry Before Storing?
Yes, running it until it stops clears fuel from the carburetor.
How Do I Protect The Spark Plug In Winter?
Remove it, add a few drops of oil in the cylinder, then reinstall.
What Type Of Oil Is Best For Winter Generator Use?
Use winter-grade or synthetic oil that flows well in cold temperatures.
Is It Necessary To Disconnect The Battery During Winter?
Yes, disconnect the battery to prevent it from draining while stored.
Conclusion
Winterizing your generator protects it during cold months. Add fuel stabilizer to keep gasoline fresh. Run the generator to spread the stabilizer well. Empty the carburetor by running it dry or draining. Change the oil for smooth, cold-weather operation. Add oil to the cylinder to prevent rust.
Disconnect the battery to avoid drain and damage. Store the generator in a dry, clean place. Cover it to protect from dust and moisture. These simple steps keep your generator ready for winter. Stay prepared and avoid costly repairs later.