
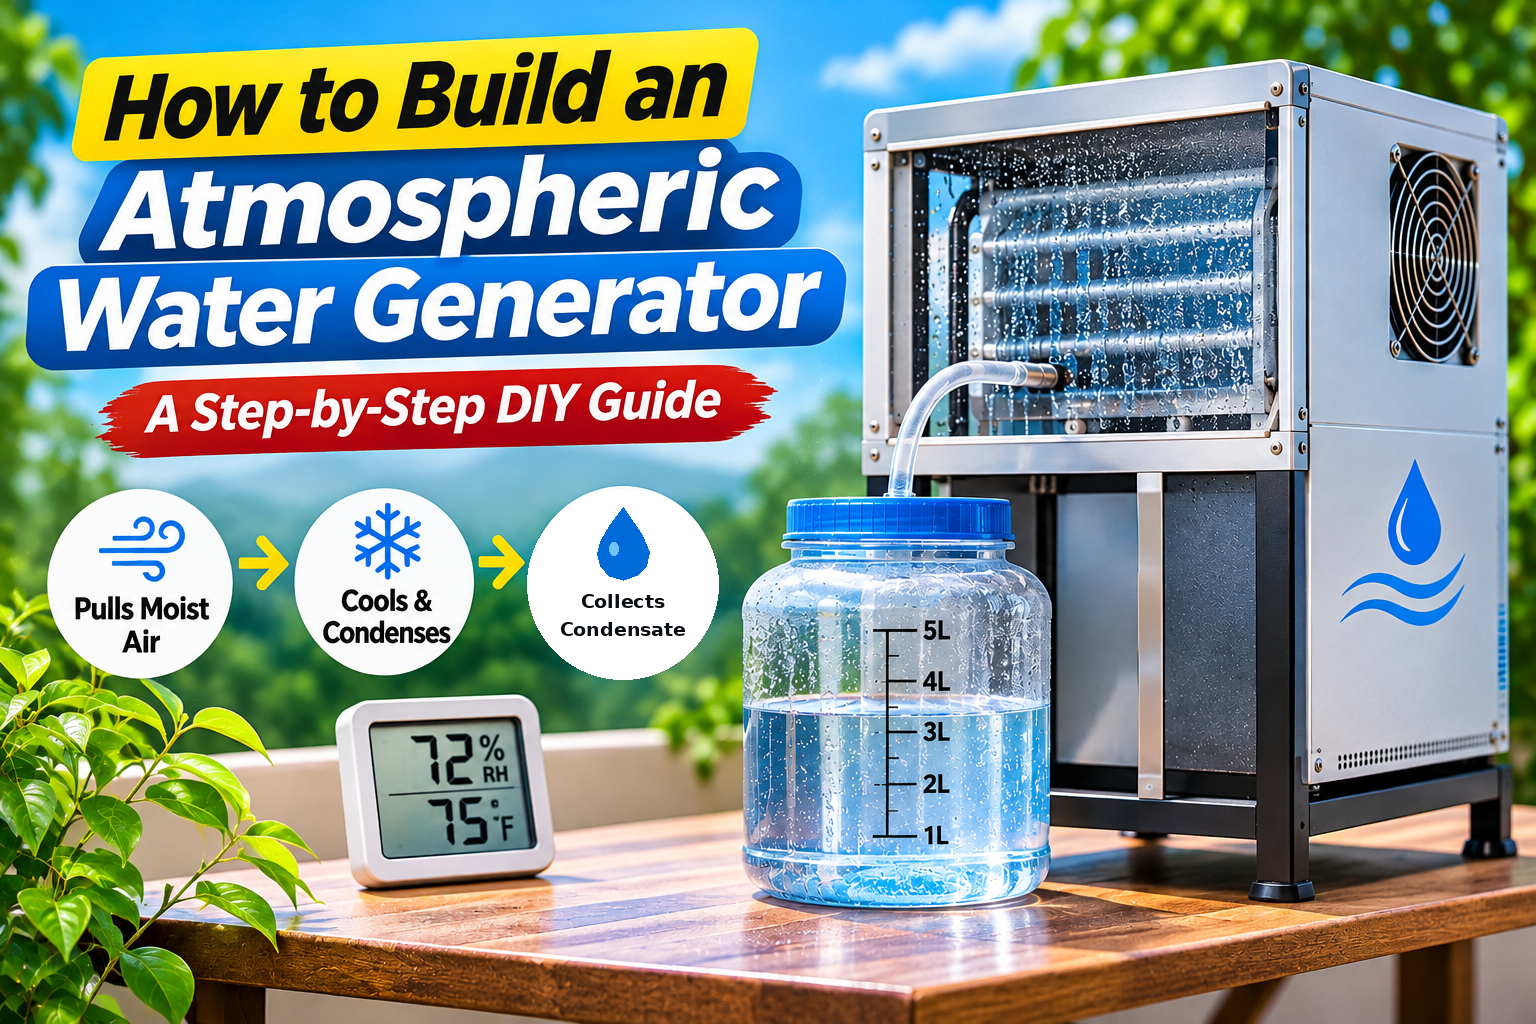
Want to build an atmospheric water generator at home? The most practical beginner project is a non-potable water-harvesting demonstrator built around an intact compressor dehumidifier with a manufacturer-supported continuous drain. It lets you see how water condenses from humid air without opening refrigerant lines or rewiring a cooling appliance. The important catch: water collected by an ordinary dehumidifier must not be assumed safe to drink. Making drinking water requires a purpose-designed, hygienic collection system, contaminant-specific treatment, validated disinfection, and appropriate laboratory testing.
This guide covers the working principle, a realistic parts checklist, safe assembly steps, output measurement, energy calculations, common failures, and the point at which buying a purpose-built potable atmospheric water generator makes more sense than a DIY project. It is a practical planning guide, not a claim that the author has built or laboratory-tested a particular unit.
10 Helpful Products for a DIY Atmospheric Water Generator
Disclosure: As an Amazon Associate, I earn from qualifying purchases.
Choose one dehumidifier as the main unit. Other items help with monitoring, drainage and safety. This is a non-potable water-collection project; an ordinary dehumidifier is not a drinking-water purifier.




How does an atmospheric water generator work?
An atmospheric water generator (AWG) captures water vapor from air. The most familiar method uses a fan to move moist air across a cold surface. When that surface is colder than the air’s dew point, some water vapor condenses into droplets. The droplets run down into a collection tray and then into a container. A compressor, evaporator coil, condenser coil, expansion device, and controls make this happen in many refrigeration-based machines.
A second approach uses a moisture-absorbing material, often called a sorbent or desiccant, then releases captured water through a controlled regeneration process. These systems can be attractive for research or specialized climates, but they introduce additional materials, heat management, and water-quality challenges. For a beginner, building an entire refrigeration circuit from scratch is a poor choice: pressurized refrigerants, electrical systems, and water-contact materials create risks that an off-the-shelf dehumidifier largely avoids.
The U.S. Environmental Protection Agency has studied atmospheric water generation and notes that temperature and relative humidity strongly influence output. It also reports that untreated condensate can support microbial growth and can carry contaminants from the air or collection system. The U.S. Department of Energy likewise describes AWG as a supplemental water source rather than a universally practical replacement for established supplies.
Choose the right project before buying parts
| Project | What it can demonstrate | Main limitation | Recommended use |
|---|---|---|---|
| Intact dehumidifier with continuous drain | Condensation, volume measurement, energy use | Condensate is not validated drinking water | Beginner educational or non-potable project |
| Small Peltier-cooled condenser | Dew-point and heat-transfer concepts | Often low yield for the electricity consumed | Classroom or electronics demonstration |
| Custom refrigeration system | Potentially greater engineered capacity | Refrigerant, pressure, electrical and sanitation hazards | Qualified HVAC and engineering professionals |
| Purpose-built potable AWG | Integrated harvesting and water treatment | Higher purchase price and ongoing maintenance | Where verified drinking-water production is essential |
Our recommendation: Build the dehumidifier-based version first if the goal is learning or collecting water for suitable non-potable uses. If your goal is dependable drinking water, start with water testing requirements and a professionally designed or independently validated potable system—not with an improvised filter added to an appliance drain.
Ten useful components for a DIY atmospheric water generator
These are component categories, not claims that any particular Amazon listing has been tested, certified, or verified for drinking-water use. Confirm exact dimensions, electrical ratings, material compatibility, and manufacturer instructions before purchasing. For a basic demonstrator, not every component below is required.
| Component | Why it matters | What to check before buying |
|---|---|---|
| 1. Compressor dehumidifier | Provides a complete, enclosed cooling and airflow system | Working unit, continuous-drain option, electrical certification, operating temperature |
| 2. Digital thermo-hygrometer | Measures room temperature and relative humidity | Readable display, suitable measurement range |
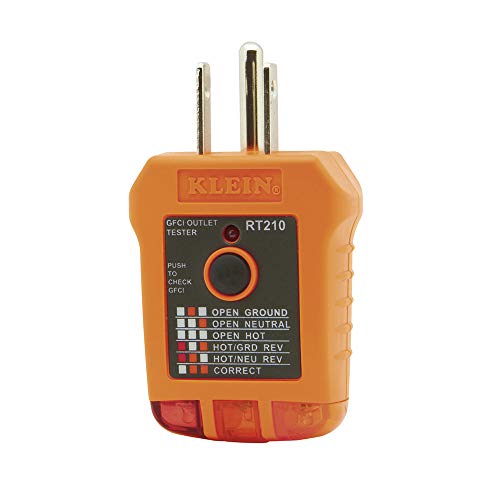
| 3. Plug-in electricity meter | Measures actual kilowatt-hours | Rated for the appliance’s voltage, current, and plug |
| 4. Compatible drain hose | Moves condensate from the approved drain outlet | Exact diameter and routing required by the dehumidifier manual |
| 5. Covered collection container | Reduces splash and debris exposure | Stable, washable, labeled NON-POTABLE; suitable volume |
| 6. Graduated measuring jug | Measures daily water production | Legible liter or gallon markings |
| 7. Leak alarm | Warns when the drain or container overflows | Battery or compatible power, sensor placement |
| 8. Condensate-compatible cleaning supplies | Supports maintenance of accessible parts | Only products and procedures allowed by the appliance manufacturer |
| 9. Air prefilter replacements | Helps maintain normal airflow | Exact filter compatibility with the machine |
| 10. Water-quality laboratory service | Identifies contamination if exploring any future potable design | Accreditation, appropriate chemical and microbiological panels, sampling instructions |
Shopping tip: The highest-value purchase is often a reliable dehumidifier with a continuous drain, not a box of extra filtration cartridges. Filtration is not a substitute for a sanitary source and a validated drinking-water treatment process.
How to build a simple atmospheric water generator: step by step
Step 1: Define the goal and keep drinking water out of scope
Write down whether you want a science demonstration, a supplemental non-potable water collection project, or a potable-water system. The steps below cover only the first two. Do not label a DIY dehumidifier rig as a drinking-water appliance. For non-potable uses, check local rules and the suitability of the collected water for the intended application; some uses may still require treatment.
Step 2: Record local conditions
Measure temperature and relative humidity where the unit will operate. Take readings at different times of day for several days. A warm, humid location usually gives a condensation system more water vapor to work with than a cool, dry location. Avoid placing the unit in dusty, chemically contaminated, or poorly ventilated areas. Never try to increase water production by intentionally creating excessive indoor humidity, which can contribute to building moisture problems.
Step 3: Select an intact dehumidifier
Choose a working appliance whose manufacturer explicitly supports a gravity-drain hose or another approved continuous-drain arrangement. Check the rated capacity, operating temperature, clearance requirements, and electrical supply. A manufacturer’s pint-per-day rating is measured under defined test conditions; it is not a guarantee of that output in your room. An ENERGY STAR listing can help compare the appliance’s dehumidification efficiency, but ENERGY STAR does not certify its condensate as potable.
Step 4: Set the unit on a stable surface
Follow the installation instructions. Keep air inlets and outlets unobstructed, maintain the required clearances, and connect the appliance to a properly grounded outlet. Keep water paths away from plugs, extension cords, and electrical equipment. Do not bypass built-in tank switches, tip protection, or other safety controls. Do not cut, puncture, or open refrigerant lines.
Step 5: Connect the supported drain
With the unit unplugged, attach the correct drain hose exactly as the manual specifies. Where the manufacturer uses gravity drainage, maintain a continuous downhill slope without kinks or raised loops. Direct the hose into a stable, covered collection container that is clearly marked NOT FOR DRINKING. Prevent accidental access by children and pets. If a pump is necessary, use only a manufacturer-supported option or seek qualified installation help.
Step 6: Run a supervised trial
Start with a short test while you remain nearby. Confirm that water flows to the container, that the appliance drains normally, and that there are no leaks or electrical hazards. Check the container frequently. Do not leave an improvised open vessel to overflow. If you see frost, smell burning, hear unusual compressor sounds, or notice water near electrical connections, shut down the unit and follow the manufacturer’s service guidance.
Step 7: Measure water and energy
For each trial, record the start and end times, average temperature, relative humidity, liters collected, and kilowatt-hours measured by a suitable electricity meter. Run multiple trials under different conditions rather than extrapolating one good hour into an entire year. Do not confuse water removed from the air with water that is safe for consumption.
Step 8: Clean, inspect, and store appropriately
Follow the appliance’s maintenance schedule for air filters, accessible drains, and collection components. Empty the non-potable container regularly; do not allow standing water to accumulate indefinitely. Keep the project away from food preparation and drinking-water containers. Inspect the hose for blockages and replace damaged parts with compatible replacements.
How much water can a DIY atmospheric water generator make?
There is no single honest output number for every DIY build. A unit’s yield depends on temperature, relative humidity, airflow, coil design, duty cycle, and the surrounding space. Published field research shows large changes in output and energy consumption across seasons. For example, one study of a specific commercial AWG recorded 0.95 liters per hour during a favorable period but only 0.13 liters per hour during a less favorable one. Those numbers describe that study’s equipment and conditions; they are not predicted results for your project.
To calculate your actual output, use liters per day = total liters collected ÷ test hours × 24. This is a simple projection, not a guaranteed continuous-production rate. A dehumidifier may cycle off when the room dries out, and outdoor humidity can change substantially.
For example, if you collect 1.2 liters during a six-hour test, the observed rate is 0.2 liters per hour. Multiplying by 24 gives a theoretical 4.8 liters per day if conditions and operating duty cycle remain unchanged. That assumption often fails in practice, so report the observed six-hour yield alongside any projection.
Electricity cost: the calculation that matters
Energy use is frequently the deciding factor in atmospheric water harvesting. Use your own electricity meter rather than relying only on an appliance’s nameplate wattage. The key metric is specific energy consumption = measured kWh ÷ liters collected. Then calculate electricity cost per liter = kWh per liter × local electricity rate.
Illustrative calculation: suppose a trial consumes 3 kWh and collects 2 liters. That is 1.5 kWh per liter. At a hypothetical electricity rate of $0.16/kWh, electricity alone costs $0.24 per liter. This example excludes equipment, replacement parts, cleaning, testing, water treatment, and any losses from storage. It is not a price quote or a prediction for a particular AWG.
Research has reported wide variation in energy intensity, which is why a single advertised liters-per-day figure can mislead. Solar panels or a portable power station can supply energy, but they do not eliminate the system’s energy demand. If you plan an off-grid system, account for compressor startup requirements, inverter losses, battery capacity, and the fact that solar generation and humid conditions may not coincide.
Can you drink water from a homemade atmospheric water generator?
Not safely on the basis of condensation alone. An ordinary dehumidifier is designed to control indoor humidity, not to meet drinking-water requirements. Airborne pollutants can enter the condensate, and coils, trays, hoses, and storage containers may introduce or support contamination. Clear-looking water and a low total-dissolved-solids reading do not establish microbiological or chemical safety.
EPA research on AWG water quality identified microbial growth as a concern in untreated condensate and water-handling systems. CDC guidance emphasizes that different treatment technologies address different germs and chemicals. A sediment cartridge, carbon filter, reverse-osmosis membrane, or UV device cannot be assumed to solve every problem by itself. A product described as “UV sterilizer” is not necessarily suitable for an untested water stream; the relevant certification and treatment class matter.
If you want to explore potable-water production, consult a qualified water-treatment professional and an accredited laboratory before designing the treatment train. Specify the source materials, likely airborne contaminants, microbiological hazards, disinfection validation, food-contact components, storage sanitation, maintenance plan, and a sampling schedule. A system needs testing after treatment and under real operating conditions. Until that process is independently validated, use a verified safe drinking-water source instead.
Do not assume that boiling alone makes chemically contaminated condensate safe: heating can inactivate many microbes, but it does not reliably remove dissolved metals or many chemical pollutants. Similarly, adding minerals for taste does not disinfect water. Treat drinking-water claims as a separate engineering and public-health project, not as the last step in a weekend appliance conversion.
DIY versus commercial AWG: which is better?
A DIY demonstrator can be useful when you want to understand condensation, measure humidity-related performance, or experiment with energy monitoring. Its strengths are accessibility and the ability to learn from your own measurements. Its weaknesses include limited control over water-contact materials, seasonal performance changes, and the lack of verified drinking-water safety.
A purpose-built potable AWG may include sanitary collection pathways, filtration, disinfection, storage controls, and documented maintenance procedures. However, the word “potable” in marketing is not itself proof that every delivered liter meets applicable standards. Ask vendors for independent water-quality test results, relevant certifications, rated performance at your local humidity and temperature, consumable costs, and service support.
For emergency preparedness, compare an AWG against stored drinking water, properly treated local water, and other established supplies. AWGs need power and suitable atmospheric conditions, so they should not be the sole emergency source without a reliable backup.
Common problems and how to troubleshoot them
The machine produces very little water
First check humidity and temperature, then confirm the air filter and vents are clean and unobstructed. Verify the appliance is actually running rather than cycling off at its set humidity. Low yield may simply reflect dry air. Do not defeat the unit’s frost protection or thermostat to force more water production.
Water leaks or backs up
Turn the appliance off and unplug it if safe to do so. Inspect the hose routing, drain fitting, container position, and manufacturer-approved pump, if fitted. Restore the correct slope and replace incompatible or damaged tubing. Never route condensate near electrical outlets.
The unit freezes up
Frost can develop when ambient temperature is too low for the appliance or when airflow is restricted. Allow the unit to defrost according to its manual and correct the environmental or airflow issue. Do not scrape coils with tools or bypass automatic defrost controls.
The collected water smells unusual
Do not drink it or use it in food preparation. Empty and clean the non-potable collection setup according to manufacturer guidance and investigate possible air-quality or hygiene issues. Odor alone cannot tell you which contaminants are present, and the absence of odor cannot prove safety.
The electricity bill is higher than expected
Measure actual kWh and liters over multiple days. Compare cost per collected liter with other appropriate non-potable water sources. Reduce unnecessary runtime by following the appliance’s intended humidity settings rather than running it continuously just to fill a container.
Frequently asked questions
What is the easiest way to build an atmospheric water generator?
For a safe educational demonstration, use an intact compressor dehumidifier with its manufacturer-supported drain and a labeled non-potable collection container. Do not open the refrigeration system or alter mains wiring.
Can I use an air conditioner instead of a dehumidifier?
Air conditioners also generate condensate, but their drain systems are not designed to produce drinking water. Collecting condensate can be a non-potable engineering project where allowed; do not repurpose it as drinking water without professional design and verification.
Will an atmospheric water generator work in a desert?
Some specialized technologies can harvest moisture in dry conditions, but ordinary cooling-based designs often have lower output and worse energy economics as humidity falls. Measure local conditions before committing to a build.
Is a Peltier module better than a compressor?
Peltier devices are convenient for small experiments because they avoid a sealed compressor circuit, but they commonly produce very small water volumes for the energy used. They are better treated as educational devices than as reliable household water supplies.
How do I know whether the water is safe?
Use appropriate laboratory testing, contaminant-specific treatment, validated disinfection, sanitary storage, and ongoing monitoring. A DIY dehumidifier collection rig has not met those requirements merely because it produces clear water.
Can solar panels power an atmospheric water generator?
Yes, with a properly sized electrical system. Calculate the appliance’s running and startup demands, the required operating hours, and the expected solar and battery energy. Solar power changes the source of electricity, not the amount of energy the AWG needs.
How much does a homemade atmospheric water generator cost?
There is no dependable universal figure. Cost depends on whether you already own a dehumidifier, its capacity, drain parts, monitoring tools, electrical energy, maintenance, and any professional water-quality work. Compare a real parts list and operating measurements rather than trusting a single generic DIY price.
Final verdict: build a demonstrator, not an untested drinking-water machine
Building a simple atmospheric water generator is an approachable way to learn how temperature, humidity, and refrigeration affect water harvesting. Keep the cooling appliance intact, use a supported drain, collect into a clearly labeled non-potable container, and track the actual liters and kilowatt-hours. These steps produce meaningful data without pretending the water is automatically safe to drink.
If your real goal is a dependable drinking-water supply, start with water safety and independent verification. Compare purpose-built potable AWGs and conventional safe-water alternatives based on local conditions, total energy cost, maintenance, and evidence of treatment performance. The best DIY result is a measured, well-maintained experiment—and an informed decision about whether scaling up makes sense.
Related guides: How to Use an Atmospheric Water Generator, How Much Power an Atmospheric Water Generator Consumes, and How to Make a Solar Atmospheric Water Generator.
Sources and further reading
- U.S. EPA: Atmospheric Water Generation Technology technical brief
- U.S. EPA: Evaluation of Atmospheric Water Generation Technology Microbial Water Quality
- CDC: About Home Water Treatment Systems
- ENERGY STAR: Dehumidifiers and buying guidance
- NSF: Standards for Water Treatment Systems
- U.S. Department of Energy: Alternative Water Sources
- Peer-reviewed study: AWG performance under hot and humid conditions