
Remove the bowl, soak parts, clear jets with carb cleaner, then reassemble and test.
I’ve worked on portable power gear for years, and I’ll walk you through exactly how to clean carburetor on Westinghouse generator so it runs like new. This guide covers tools, safety, step-by-step cleaning, deep soaking, when to rebuild, troubleshooting, and maintenance tips. You’ll get clear steps, real tips I learned on the job, and the confidence to service your generator safely and correctly.

Tools, parts, and safety checklist
Use the right tools and follow safety rules before you learn how to clean carburetor on Westinghouse generator. A safe job is a fast job.
- Safety gear: safety glasses, nitrile gloves, and a mask.
- Tools: flat and Phillips screwdrivers, small socket set, needle-nose pliers, carb brush, soft toothbrush, and a small pick.
- Supplies: carburetor cleaner spray, canned air or compressed air, clean rags, a small container for parts, carburetor rebuild kit for your model.
- Fuel and battery: drain fuel and disconnect spark plug or battery to prevent accidental start.
- Workspace: well-ventilated, flat bench with good light.
I always keep a rebuild kit on hand. If you plan to clean more than once a season, a kit saves time and prevents repeat visits.

Quick carburetor basics for Westinghouse units
Knowing parts helps when you clean. This short primer makes the rest easier.
- Carburetor bowl: holds a small fuel reserve.
- Float and needle: control fuel level in the bowl.
- Main jet and pilot jet: meters fuel at different throttle positions.
- Throttle and choke linkages: control air and fuel flow.
When you learn how to clean carburetor on Westinghouse generator, you’ll focus on the bowl, jets, and needle valve. These clog first, especially with old or ethanol-blended gas.
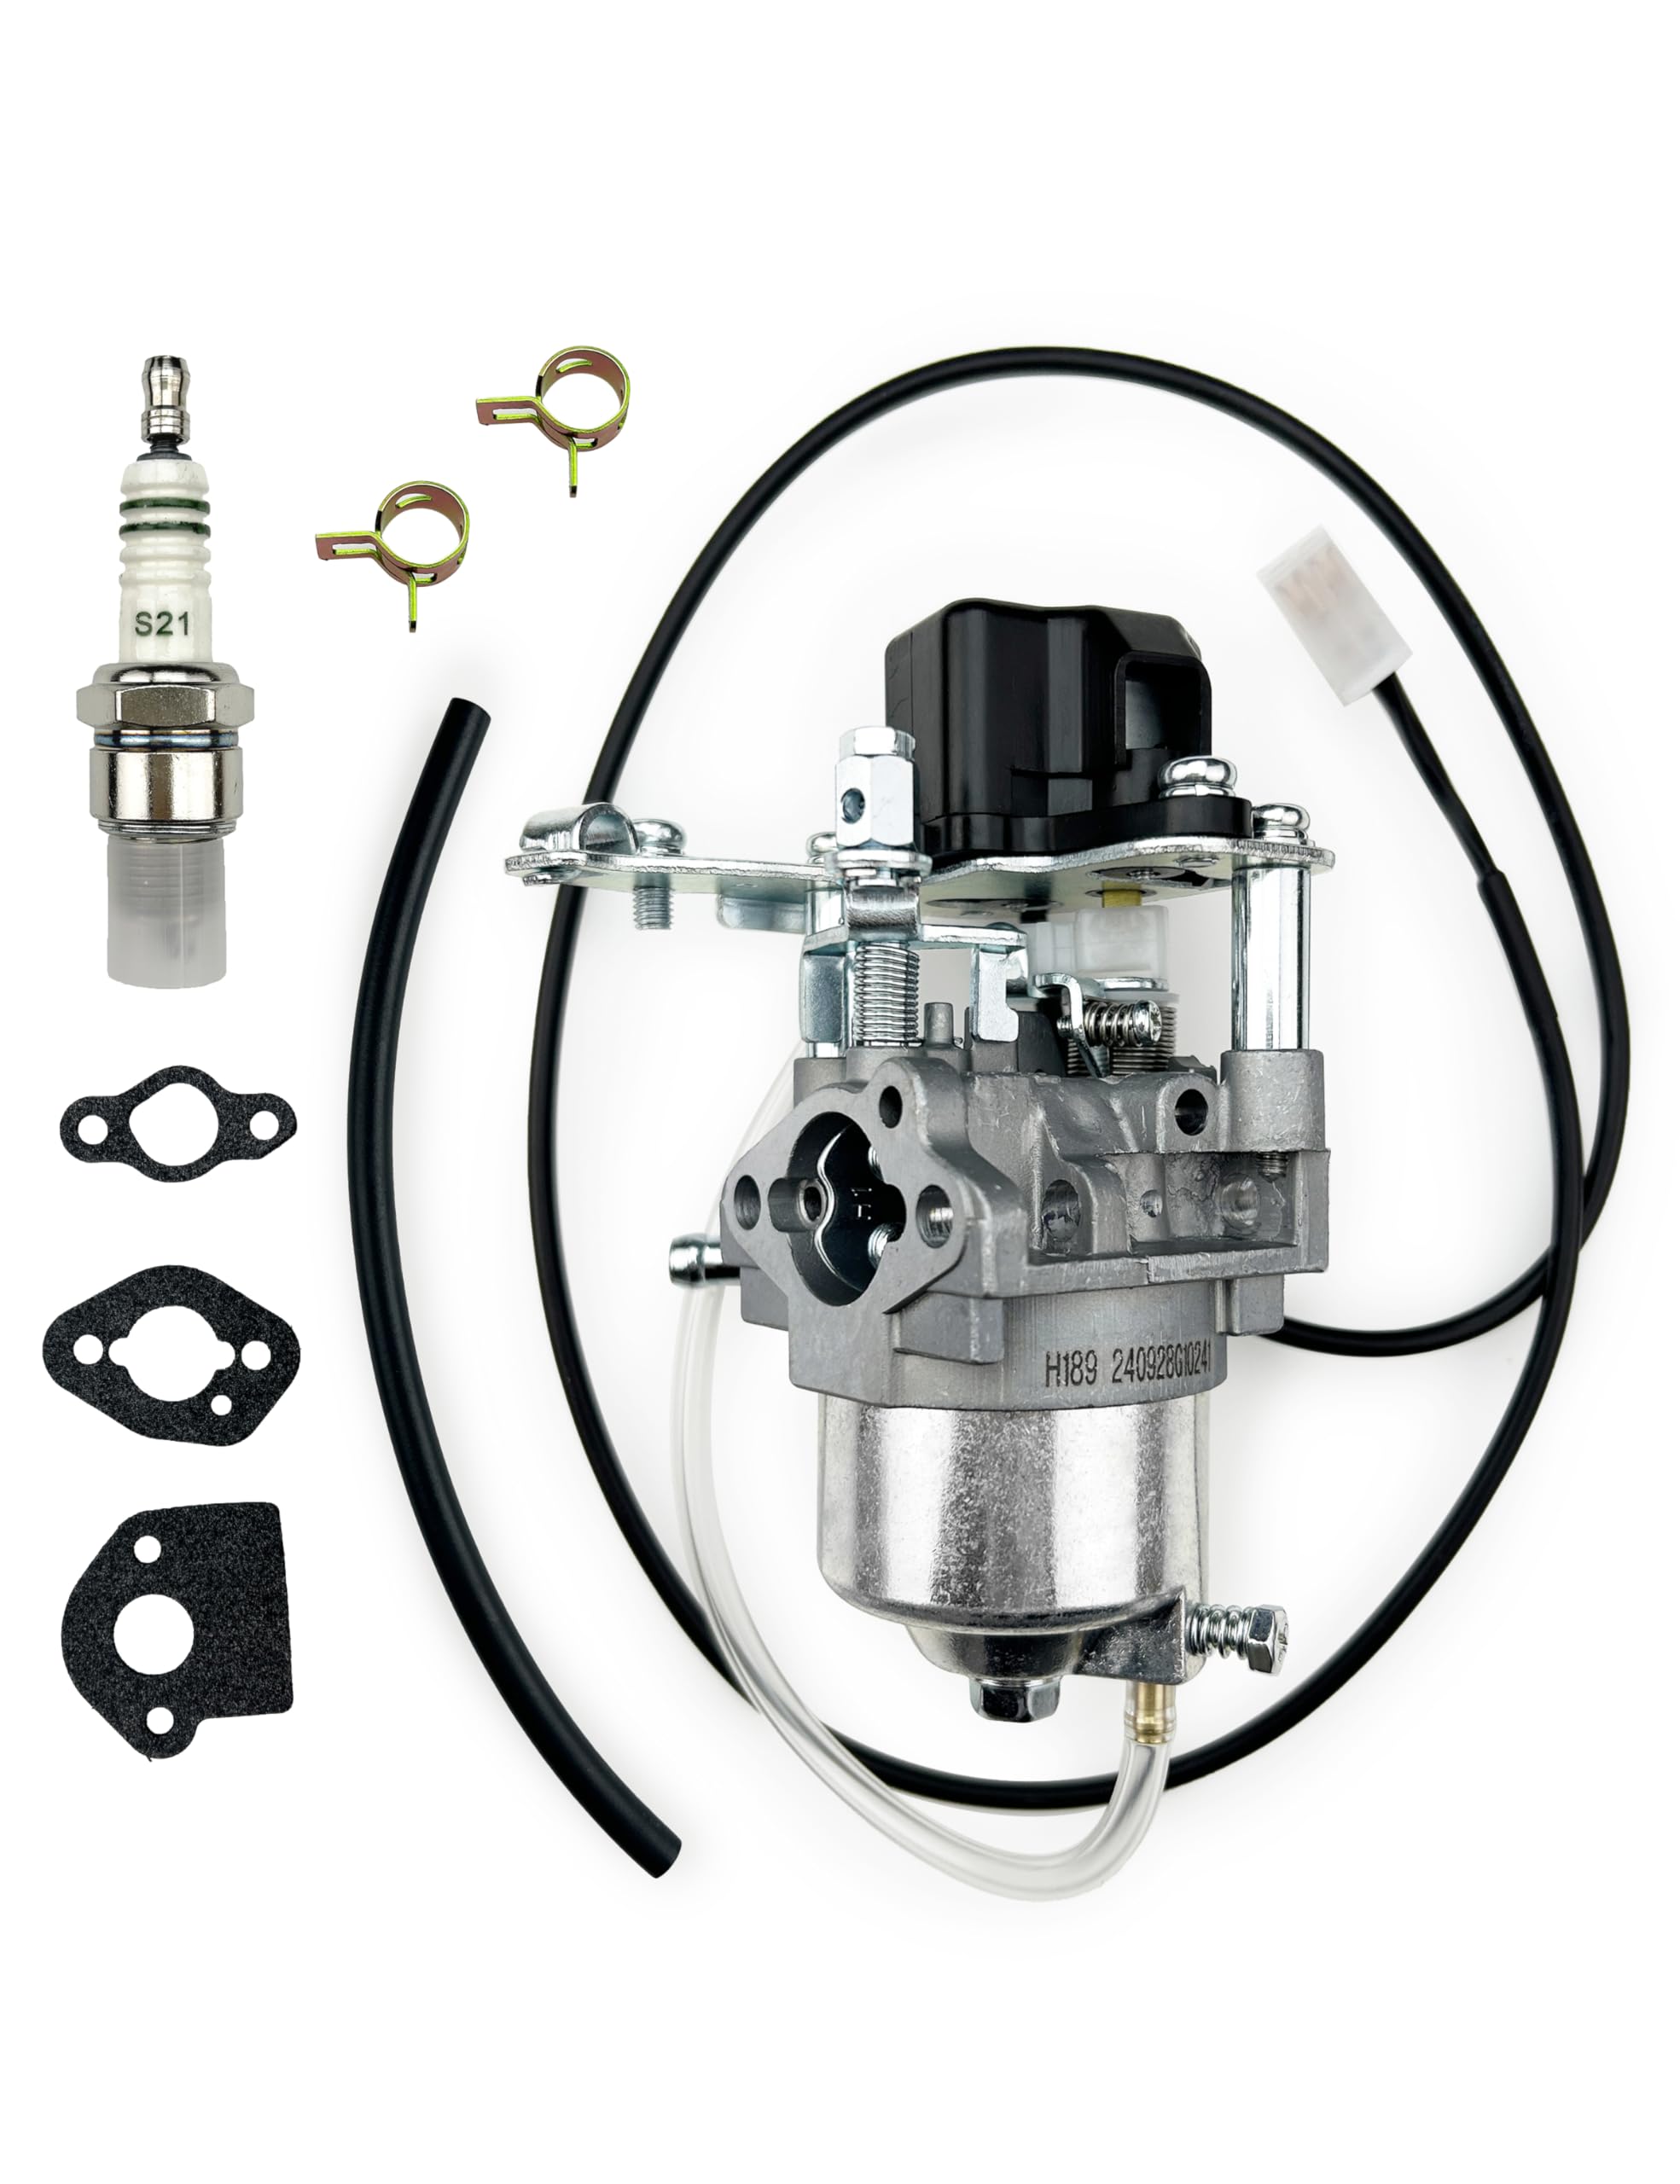
Step-by-step: how to clean carburetor on Westinghouse generator
Follow these clear steps. Work slowly and keep parts organized.
- Prepare the generator
- Turn off the unit and let it cool.
- Turn off the fuel valve and drain the tank or syphon fuel into a safe container.
- Disconnect the spark plug boot to prevent start.
- Remove the carburetor
- Remove the air filter and housing.
- Disconnect throttle and choke linkages. Note their positions or take a photo.
- Loosen clamps and remove the carburetor from the engine intake.
- Disassemble the carburetor
- Place parts on a clean cloth in order.
- Remove the float bowl screws and gently drop the bowl off.
- Remove float, pin, and needle. Remove jets and any small screws.
- Inspect parts
- Check the float for fuel inside or cracks.
- Inspect the needle and seat for wear.
- Look for varnish, gum, or dirt in jets and passages.
- Clean jets and passages
- Spray carburetor cleaner through each jet and passage.
- Use a soft wire or carb pick only if necessary and very gently.
- Blow compressed air through passages to clear residue.
- Clean the bowl and body
- Spray cleaner and scrub with a small brush.
- Rinse with cleaner and blow dry with air.
- Reassemble and test
- Replace gaskets and O-rings with new ones from the rebuild kit.
- Reinstall jets, float, and bowl. Ensure needle seats properly.
- Reattach carburetor, linkages, and air filter.
- Reconnect spark plug and add fresh fuel.
- Start the generator and let it warm. Fine-tune idle and mixture as needed.
While cleaning, I like to photograph each step. That saves time and reduces errors when reassembling. Practically every Westinghouse carb I’ve cleaned had clogged pilot jets from ethanol fuel.

Deep cleaning, soaking, and ultrasonic options
Some clogs need more than spray and brush.
- Soaking parts: remove jets and non-painted parts and soak in carburetor cleaner for 30–60 minutes.
- Ultrasonic cleaning: use an ultrasonic tank with approved solvent for badly varnished parts. This is ideal for stuck jets and tiny passageways.
- Avoid harsh tools: never drill or force-clean jets. You can enlarge or damage them.
If you’re unsure, deep cleaning often solves repeat problems. I used ultrasonic cleaning once on a generator that sat with old gas for a year; it restored flow without replacing the carburetor.

When to rebuild or replace instead of cleaning
Cleaning helps often, but sometimes rebuild or replacement is wiser.
- Rebuild when gaskets, needle, or float are worn or cracked.
- Replace the carburetor if the body is corroded or the float is permanently waterlogged.
- Use a genuine rebuild kit or a trusted aftermarket kit sized for your Westinghouse model.
I usually clean first. If performance does not improve, I rebuild. Rebuilding costs less than a new carb and often fixes hidden problems.

Troubleshooting common issues after cleaning
Cleaning solves many problems but new or lingering issues can appear. Use these quick checks.
- Hard starting: check choke operation and spark plug condition.
- Rough idle: check pilot jet and air leaks at intake or gasket.
- Flooding: ensure float height and needle seat seal correctly.
- No fuel to bowl: check fuel valve, lines, and filter before reclaming carburetor.
If your symptoms persist after you complete how to clean carburetor on Westinghouse generator, recheck linkages and the float setting. Small misalignments cause big problems.

Maintenance tips to avoid carburetor clogs
Regular care prevents most carburetor work.
- Use fresh fuel and a fuel stabilizer when storing the generator.
- Run the generator for 10–15 minutes each month to keep fuel moving.
- Replace fuel filter annually or per the manual.
- Store with an empty tank or stabilized fuel for long periods.
I learned the hard way that ethanol gas needs stabilizer. After switching to treated fuel before storage, my carburetor cleanings dropped from yearly to once every three years.

Frequently Asked Questions of how to clean carburetor on westinghouse generator
How often should I clean the carburetor on a Westinghouse generator?
Clean the carburetor if fuel has been sitting more than three months, or if the engine runs poorly. Regular maintenance checks each season can prevent major problems.
Can I use WD-40 instead of carburetor cleaner?
WD-40 is not a dedicated carb cleaner and may not dissolve varnish well. Use a purpose-made carburetor cleaner or an ultrasonic tank solvent for best results.
Is it safe to soak rubber parts in carb cleaner?
Do not soak rubber parts or gaskets in harsh carb cleaner. Replace old gaskets and O-rings with parts from a rebuild kit to avoid swelling or damage.
What causes the carburetor to clog on Westinghouse generators?
Stale fuel, ethanol blends, and long storage times cause varnish and deposits that clog jets and passages. Dirt and a failing fuel filter can speed up the process.
Do I need a carburetor rebuild kit for every cleaning?
Not every cleaning needs a rebuild kit, but installing new gaskets and needle seals is smart if the unit is older. Kits are inexpensive and improve long-term reliability.
Final thoughts and next steps
You now have a clear, tested approach for how to clean carburetor on Westinghouse generator. Start with safety, follow the steps, and take your time when disassembling and reassembling. If the carb still misbehaves after cleaning, rebuild or replace it using a kit matched to your model. Try the cleaning once, and you’ll gain confidence quickly.
Take action today: check your filter and fuel, gather the tools listed, and schedule a cleaning session. Leave a comment or share your experience with cleaning a Westinghouse carburetor to help others.