
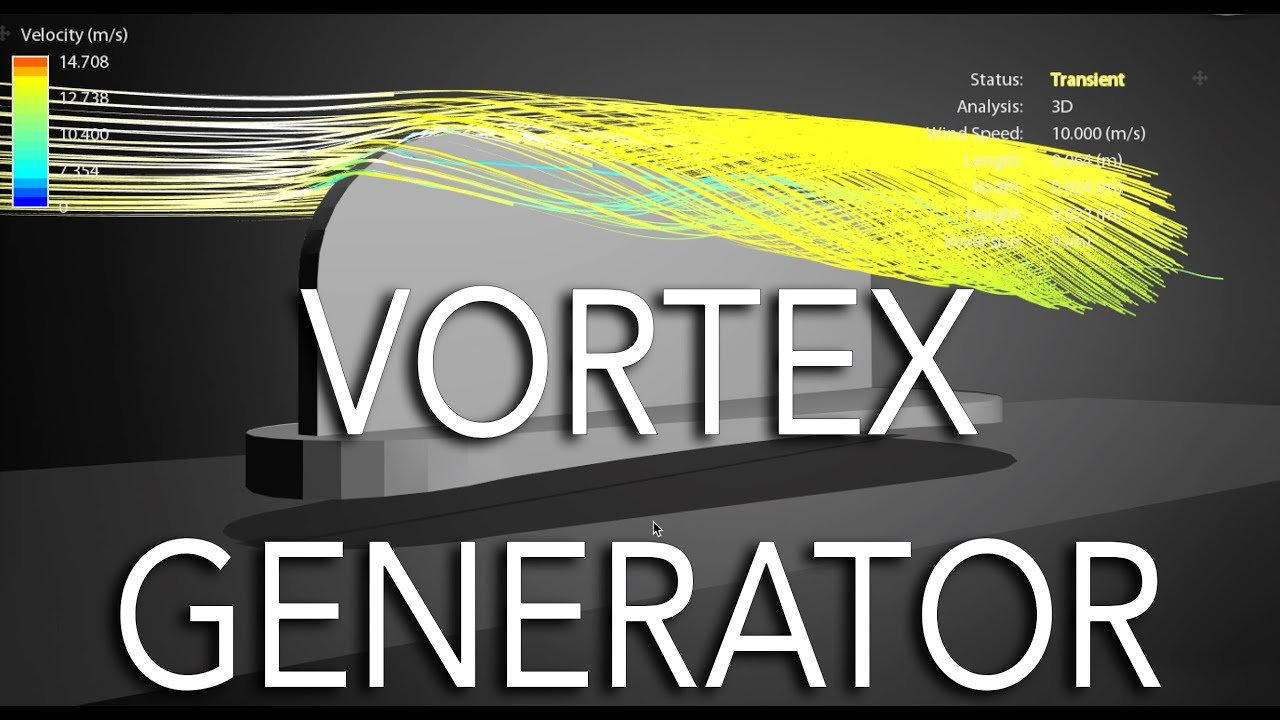
Build a simple atmospheric vortex generator using a heated ring, a chimney, and controlled airflow to form a visible vortex.
I’ve built several small atmospheric vortex generator prototypes and taught workshops on them, so I know what works and what doesn’t. This article explains exactly how to make an atmospheric vortex generator step by step, why each part matters, and how to tune performance safely. Read on for clear materials lists, hands-on steps, physics made simple, troubleshooting tips, and real-life lessons from my builds.

What is an atmospheric vortex generator?
An atmospheric vortex generator is a device that creates a stable ring of rotating air, or vortex, that rises like a smoke ring but on a larger scale. It uses a controlled heat source or fan-driven updraft and a circular aperture to form a coherent toroidal vortex. People build them for demonstrations, research, or to explore airflow patterns.
The device is simple in concept but rich in fluid dynamics. Knowing how to make an atmospheric vortex generator helps you learn about vorticity, buoyant updrafts, and flow stability in a hands-on way. This section gives a clear, plain-language picture before we move to materials and steps.

Materials and tools you'll need
Below is a practical list you can source easily. Quantities and sizes depend on the scale you want.
- Circular base or drum, 18–36 inches in diameter for a small demo unit
- Rigid top ring or flange to form the aperture, 4–12 inches diameter opening
- Heat source: electric heating coil, propane burner, or an array of infrared lamps
- Fan or blower with variable speed (optional for cold-air vortex generators)
- Sheet metal, plywood, or high-temperature plastic for the chimney
- Fasteners, high-temp silicone sealant, and mesh or grate to protect the flame/heat
- Thermometer and anemometer for measurements
- Safety gear: fire extinguisher, gloves, eye protection, and a carbon monoxide detector
- Tools: drill, saw, wrench, screwdrivers, and metal snips
If you prefer a cold-air vortex, you can skip the heat source and rely on a fan with a ring-shaped aperture. For a thermally driven vortex, heating and smooth airflow are key.
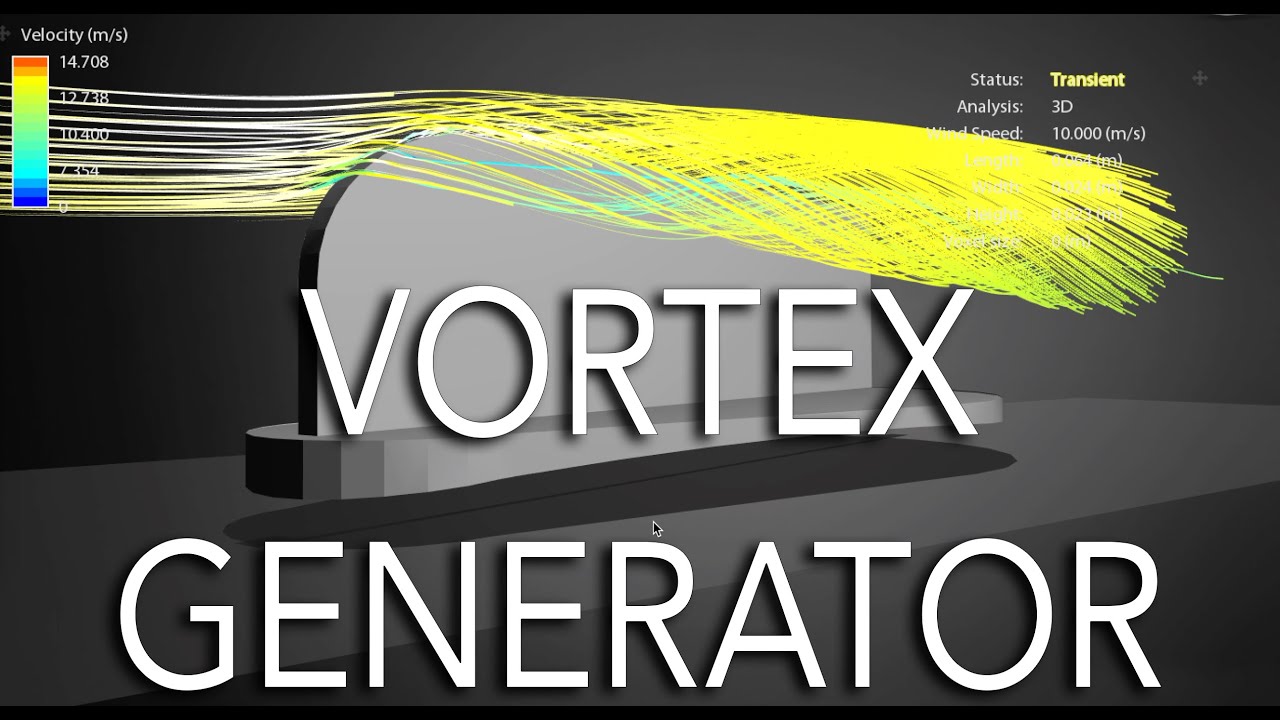
Step-by-step guide: how to make an atmospheric vortex generator
Follow these steps for a basic, small-scale thermally driven model. Keep the workspace well ventilated and follow safety rules.
- Design and prepare the base
- Use a sturdy drum or plywood box as the base. The chamber height should be about 1 to 1.5 times the ring diameter.
- Cut a circular aperture in the top. For a small demo unit, a 6–10 inch opening works well.
- Install the heat source
- Place the heating element at the center of the base, shielded by a mesh to prevent direct flames from reaching the aperture.
- Ensure heat is evenly distributed; uneven heating disrupts vortex formation.
- Build the chimney and ring
- Attach a smooth chimney section above the aperture to guide the rising air.
- Fit a thin top ring around the aperture edge. The ring sharpens shear at the boundary and encourages toroidal roll-up.
- Add directional flow or shaping vanes
- For improved vortex formation, install subtle tangential flow guides inside the base or around the aperture to add angular momentum.
- Keep guides shallow; too much swirl makes the flow unstable.
- Start-up and tuning
- Light or activate the heat source, allow a steady updraft to develop, and adjust the heating to create a stable rising column.
- If using a fan, set low to moderate speed and adjust the ring aperture until a visible vortex forms.
- Visualize and measure
- Use smoke, fog machine vapor, or incense to visualize the vortex.
- Measure temperature and airflow to record performance.
Safety notes: never leave the heat source unattended. Use CO and heat sensors and keep flammable materials clear. If you’re using open flame, do this outdoors or in a well-ventilated area with a fire extinguisher on hand.

How it works: physics behind the atmospheric vortex generator
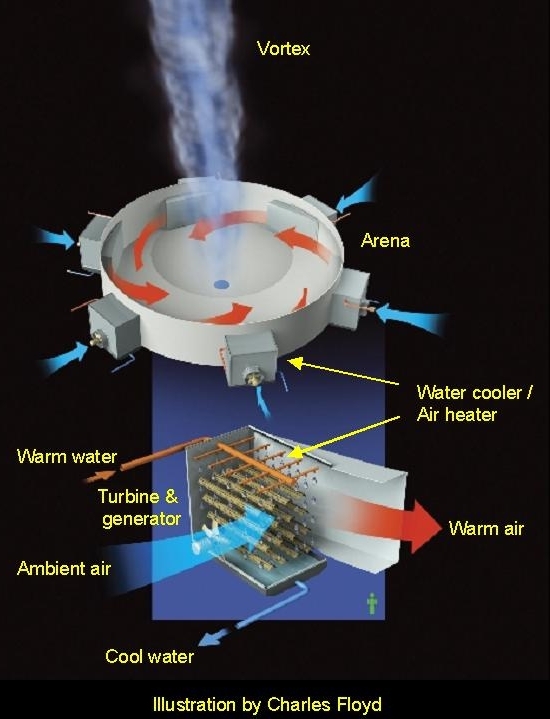
The generator creates a toroidal vortex by combining a rising buoyant column with shear at the aperture edge. Heat creates upward buoyant flow; the ring and slight tangential input convert a rising column into a rotating torus. Conservation of angular momentum tightens the rotation as air moves inward, stabilizing the vortex core.
Key concepts in plain language:
- Buoyancy causes warm air to rise.
- Shear along the aperture edge rolls the air into a donut shape.
- Conservation of angular momentum makes the vortex spin faster as its radius shrinks.
- Viscosity and mixing limit how long the vortex persists.
Understanding these basics helps when tuning your build. If the vortex breaks up, that points to too much turbulence, uneven heating, or incorrect aperture sizing.

Practical tips, troubleshooting, and performance tuning
Small adjustments can make a big difference. Here are fast, practical tips from hands-on experience.
- Aperture size matters
- Too large and the flow won’t roll; too small and it chokes the updraft. Test 6–12 inch openings for a desktop model.
- Smooth edges and symmetry help
- Sharp, even edges promote clean shear and stable roll-up.
- Heat control is crucial
- Steady, even heating yields a stable vortex. Pulsing or uneven heat destabilizes the ring.
- Use mild tangential flow
- Gentle angular momentum added with vanes or offset fan flow often produces a cleaner vortex.
- Troubleshooting quick checks
- If the vortex is short-lived: reduce turbulence and smooth the inlet.
- If it wobbles: check symmetry and balance the heat or fan input.
- If it stalls: increase heat or reduce aperture size slightly.
I once spent a day chasing a noisy fan that destroyed vortex coherence until I replaced it with a quieter blower with smooth output. Small hardware choices matter.

Applications, benefits, and limitations
Applications:
- Educational demos of fluid dynamics and meteorology
- Small-scale research into vortex stability
- Visual art and atmospheric displays at events
Benefits:
- Low-cost, visible demonstration of complex physics
- Scales from tabletop to experimental field rigs
- Teaches practical engineering skills in airflow control
Limitations:
- Safety risks with live flames or high heat
- Sensitive to environmental wind and turbulence
- Scaling up requires careful engineering, legal approvals, and safety planning
Be transparent: a homemade atmospheric vortex generator is great for learning but not a turnkey tool for large-scale engineering without more advanced design and safety measures.
Personal experience and lessons learned
From my builds, the most important lesson is to respect the basics: symmetry, steady energy input, and gentle airflow control. Early prototypes failed because I ignored chimney smoothness. Replacing corrugated parts with smooth tubing made the vortex far cleaner.
I also learned to test with cold-air fans before using heat. That reduces risk and helps find the right aperture and vane geometry. Finally, document settings—fan speed, heat level, aperture size—so you can reproduce results.

Frequently Asked Questions of how to make an atmospheric vortex generator
How long does it take to build a simple atmospheric vortex generator?
A basic demo unit can be built in a weekend with common tools and parts. Fine-tuning and safe testing may take one to several more sessions.
Can I make a vortex generator without a heat source?
Yes. You can create a cold-air vortex using a fan and a ring-shaped aperture; it relies on mechanical updraft rather than buoyancy.
Is it safe to use open flames in the build?
Open flames add risk. Use proper shielding, ventilation, and fire safety equipment, or opt for electric heating elements to reduce hazards.
What is the best aperture size for a tabletop model?
For tabletop demos, an aperture of about 6 to 12 inches often works well; adjust while testing to find the sweet spot for your heat or fan setup.
How do I visualize the vortex?
Use a smoke machine, fog, or incense to reveal the toroidal structure. Fog machines give a dense, lasting visualization for photography and study.
Will wind ruin the vortex?
Yes. Ambient wind and drafts destabilize the vortex. Perform demonstrations in calm, sheltered spaces or outdoors on very still days.
Can this experiment scale to larger sizes?
Scaling up is possible but requires advanced engineering, stronger heat sources, precise air control, and adherence to safety and legal standards.
Conclusion
You now have a clear, practical pathway for how to make an atmospheric vortex generator, from parts and steps to physics and safety. Start small, test with cold-air setups, document settings, and focus on symmetry and steady energy input to get reliable results. Try building a simple demo this weekend, tune it patiently, and share what you learn—leave a comment or subscribe for more hands-on guides.